
The Oblation: Bloodline Unique Mission in Future 2 is a love letter to the group. This is how one can full it.
If Monuments of Triumph is the ultimate Future 2 replace, then the Oblation sequence of Unique missions is the final we’ll ever see. Oblation: Bloodline is the primary of three Unique missions, and we’ll be masking all the things it’s good to learn about how one can full it on this information. Attending to the tip is definitely worth the effort, as you will stroll away with Cull’s Shadow.
Methods to full Oblation: Bloodline in Future 2
Greater than half of Oblation: Bloodline is platforming or fundamental puzzle-solving. The encounter on the finish isn’t notably troublesome both, particularly if you recognize the mechanics. I’ll information you thru the lengthy opening sequences, then provide the lowdown on how the encounters work. It’d appear to be quite a bit, however earlier than lengthy you will have Cull’s Shadow in your loadout.
Methods to Sabotage the Syndicate drilling operation
Your first objective after talking with Aunor firstly of Oblation: Bloodline is to disable the huge power drill. The method is straightforward.
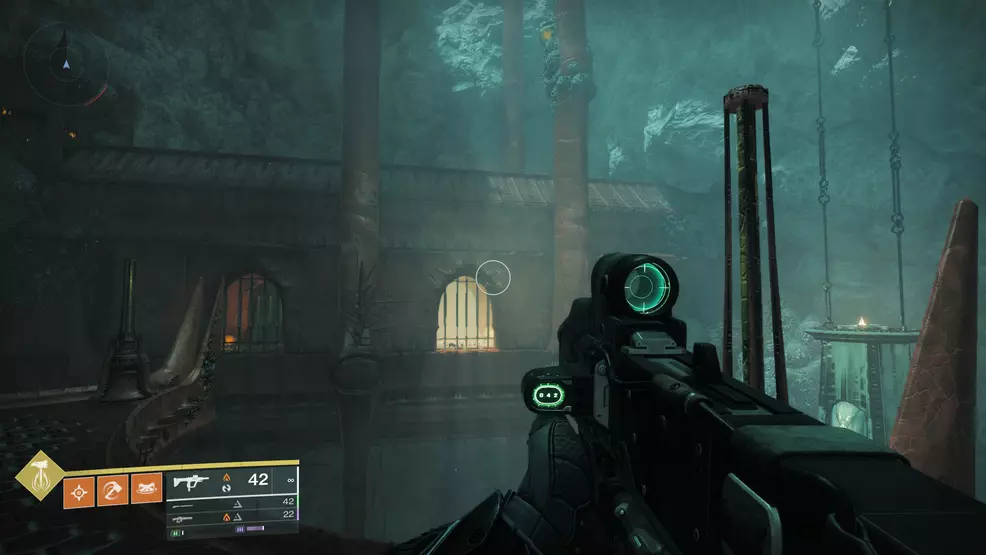
To begin, soar down off the ledge to your left earlier than you attain the big purple tower, and drop to the platform far under.
Fairly than continuing ahead, flip round to face the Psion snipers that can begin pestering you. Make your approach up the steps to them and defeat the shielded Centurion on the command console, then override the Security Controls (flip the swap) as soon as he’s useless.
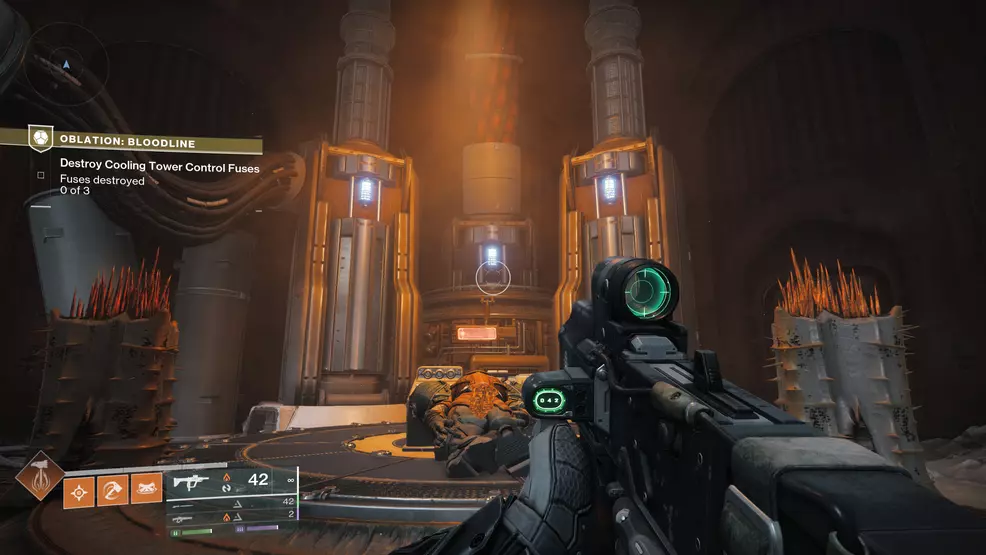
Subsequent, destroy the three fuses behind the swap to activate the Cooling Pillars under you. You’ll know you’re a Cooling Pillar by the red-hot vents that periodically open on its sides.
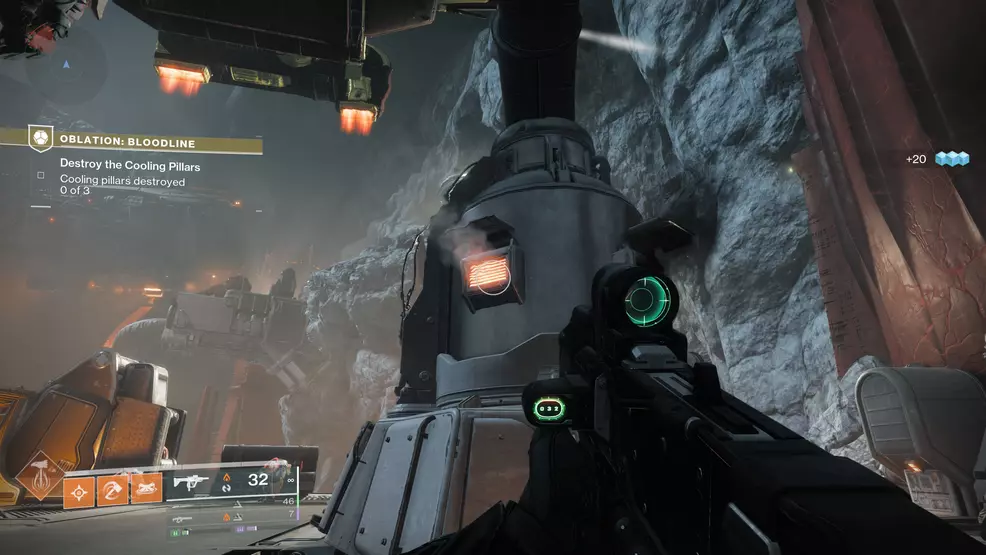
The primary pillar is previous the place you dropped down initially. Shoot the vents once they’re open and sizzling to destroy them. Break all 4, and the pillar will fail. The person cannon close to the sting of the platform will activate as soon as the Pillar’s handled, so take it to the subsequent space.
The method right here is comparable, however expanded. Defeat the shielded Centurion, flip the swap, then discover the fuses.
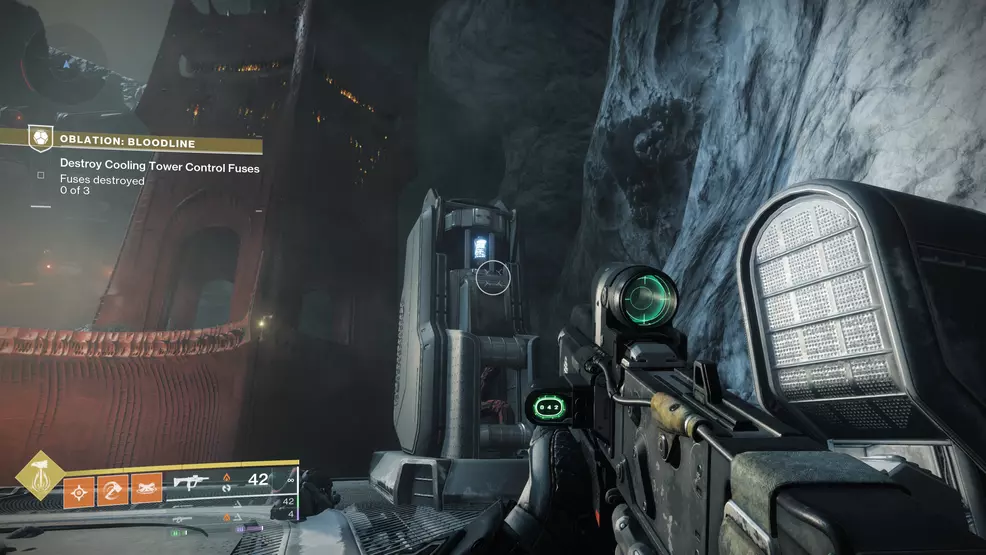
The primary fuse is above and to the left of the swap.
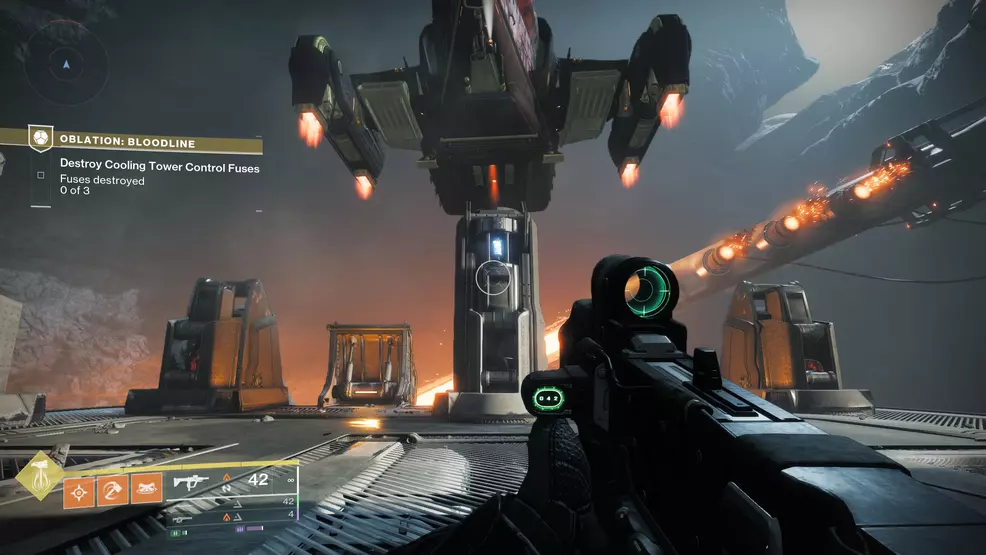
The second fuse is immediately throughout from the swap.
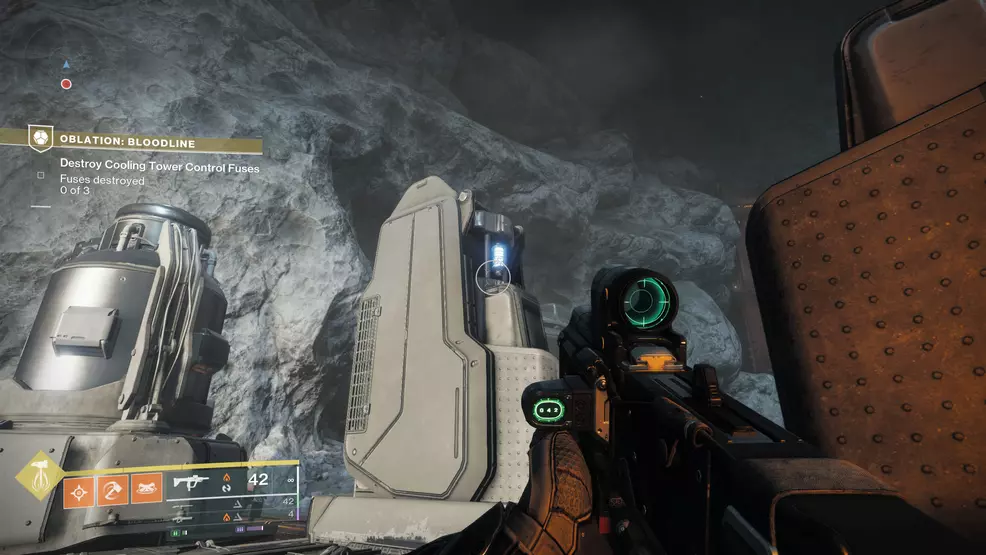
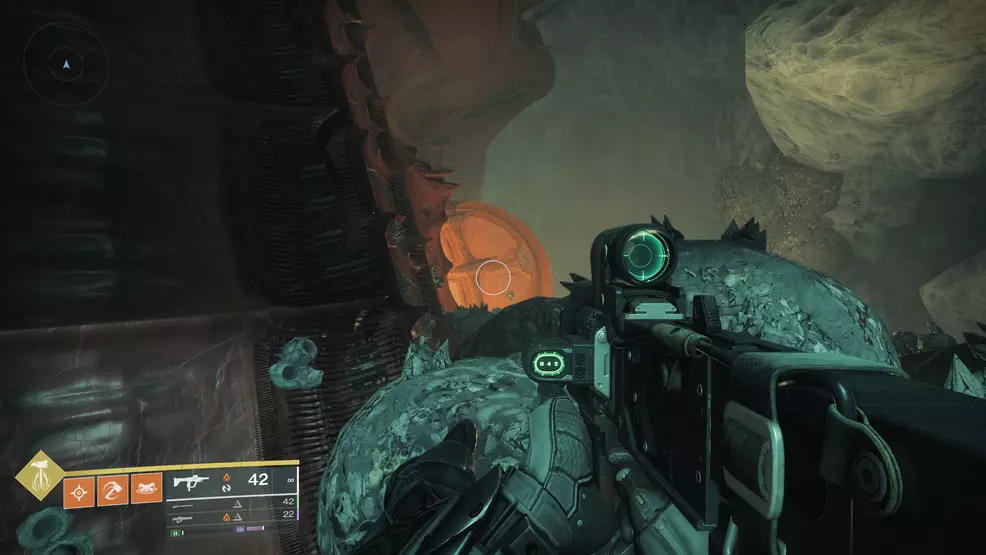
The third fuse is throughout the platform and to the left of the swap. As soon as all of them are damaged, take out the cooling vents on the 2 remaining Cooling Towers.
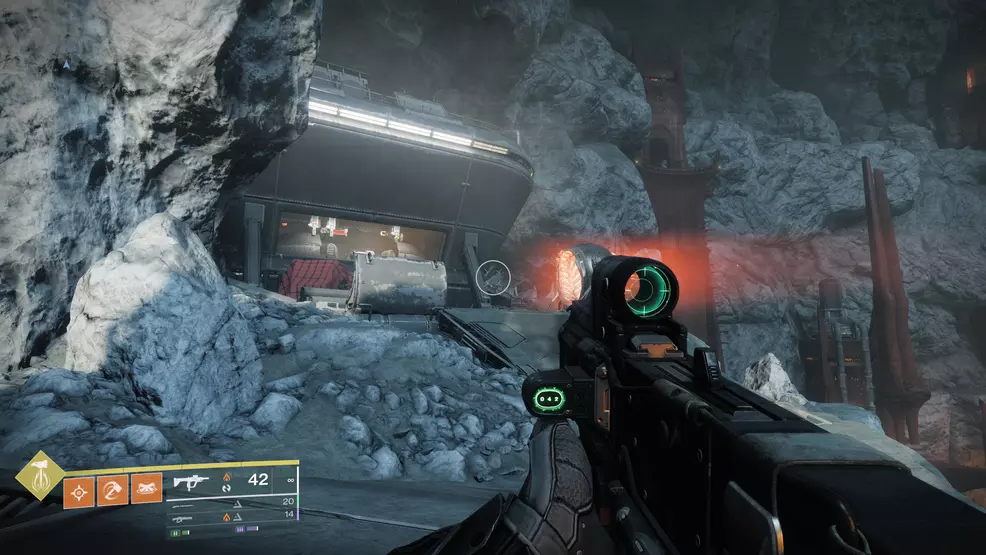
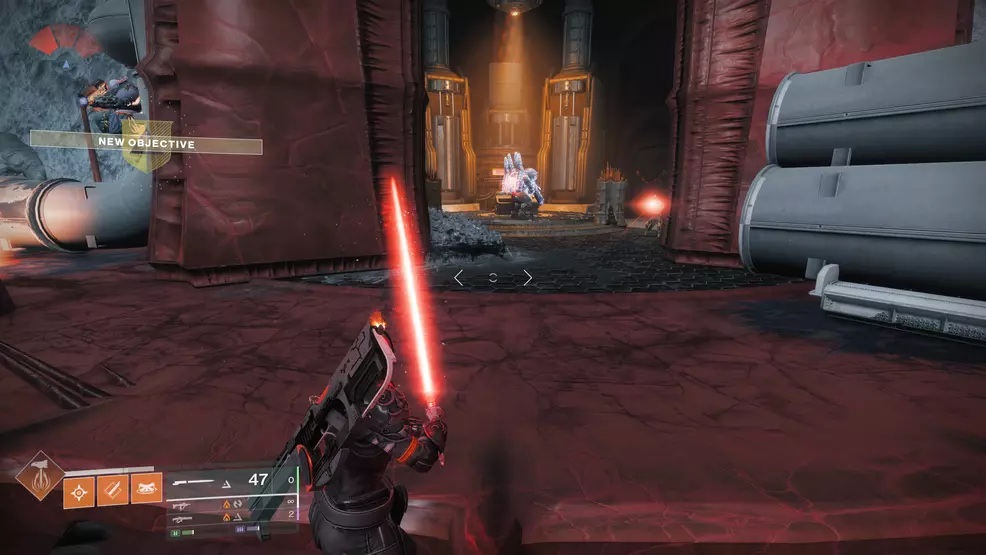
Your ultimate process on this first space is to show off the power drill. To do this, flip again towards the doorway and go into the command middle nestled into the rock face. You in all probability noticed the power defend guarding its entrance as you got here this fashion. It’s down now.
Defeat the enemies within the room and flip one final swap to overload the laser drill, then take the close by man cannon into the opening the drill made.
Methods to attain the ultimate encounters
Now your process is to go up. Manner, approach up. This platforming part is moderately prolonged, so listed below are the highlights.
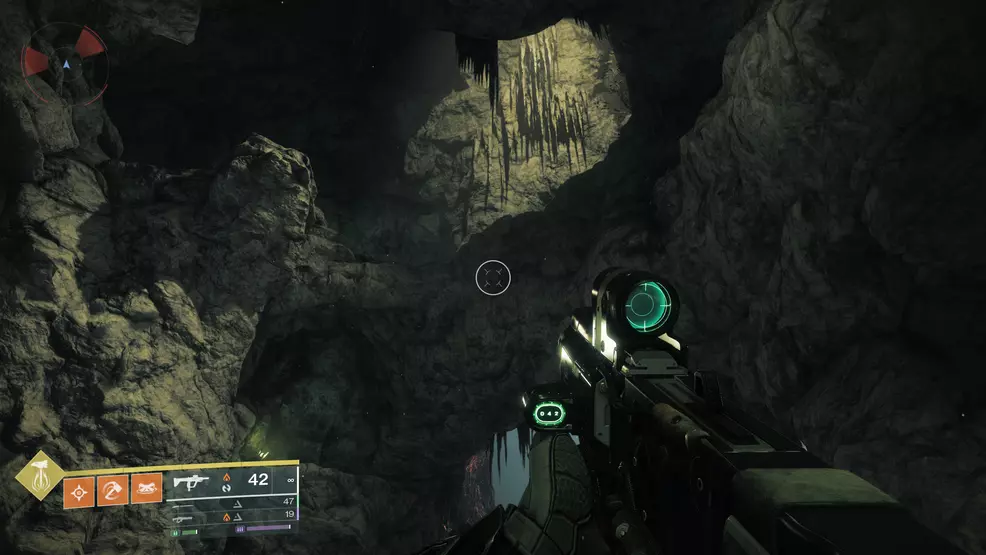
Head to the again of the cave opened by the laser drill, and soar up into the sunshine inexperienced cave to your left, then throughout to the place the Acolyte was sniping you from.
Use the Acolytes as your information. Wherever platform they’re utilizing to snipe at you is one you should utilize to ascend.
Bounce throughout the gaps, at all times maintaining an eye fixed out for an prolonged jut of rock or an open platform the place an Acolyte stood.
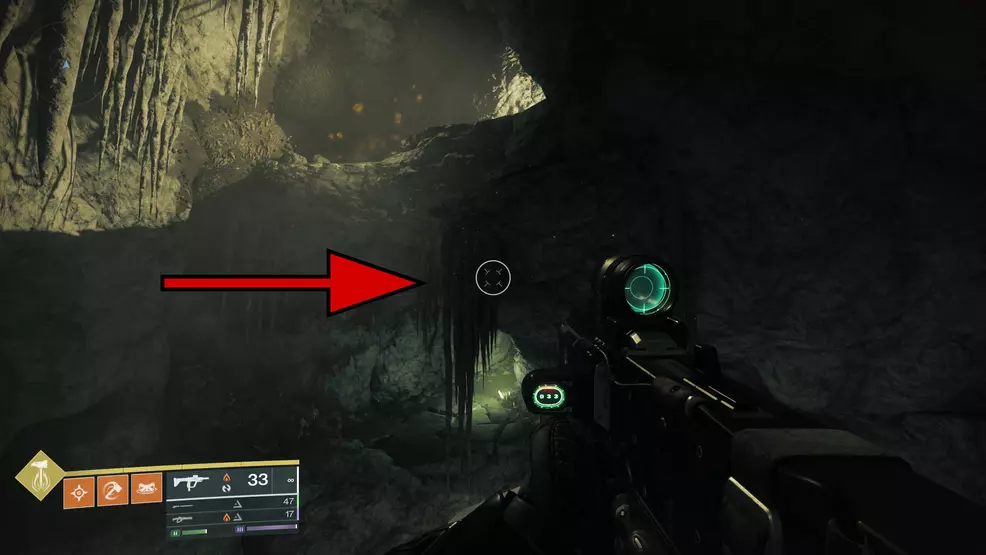
Once you close to the highest of the room, look throughout on the platform coated in stalagtites. Hop throughout the hole and up onto the lit platform, then take a proper via the tunnels.
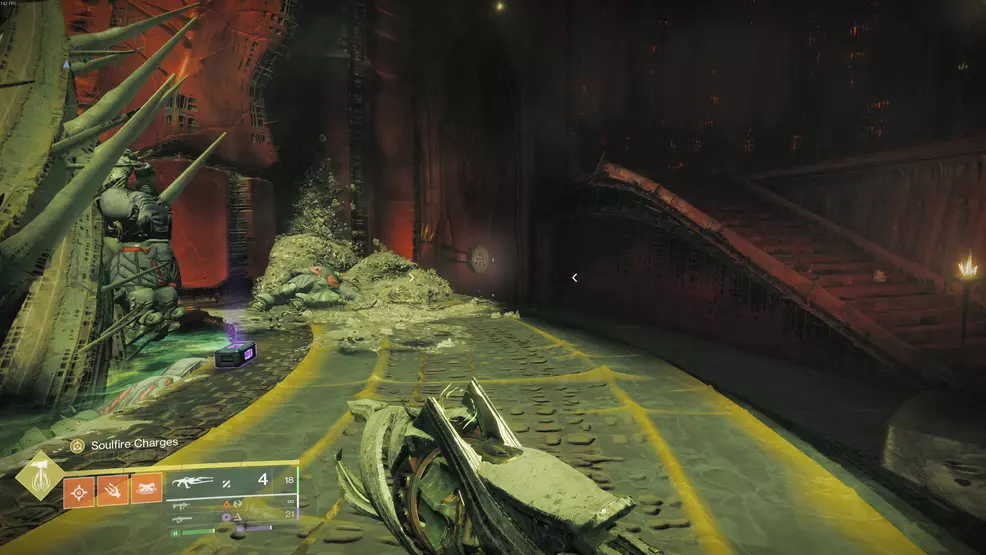
Proceed via the tunnels till you attain a useless finish, then soar up onto the ledge above you. Proceed via till you attain a big space known as the Soulfire Crux, the place the second a part of the platforming part begins.
First, soar throughout the chasm to your proper, then soar as much as the sarcophagus hanging from the ceiling. Flip round and use the ledges jutting from the rock face to succeed in further sarcophagi, and ultimately, you’ll catch the attention of one other set of Acolytes.
Use the sarcophagi and Acolytes as your information. Should you can’t discover a approach ahead, look to the rock partitions for platforms. They are often to your left or your proper, however they’re at all times there.
On the high of this space, in opposition to the again wall, is a big hallway with home windows blocked by iron bars. Bounce on high of the corridor’s roof and look down over the ledge on the opposite aspect. There’s a platform there you’ll be able to soar all the way down to.
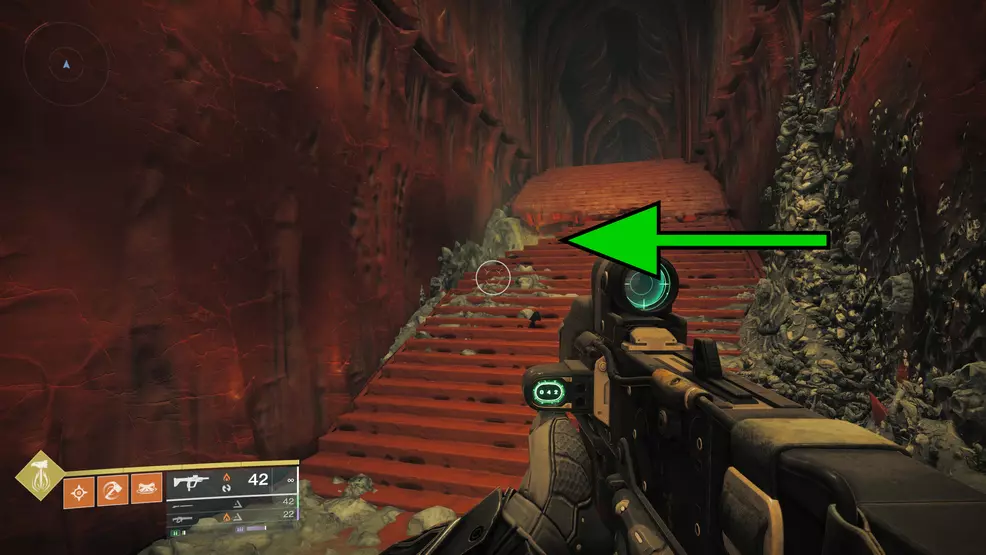
Flip left and, moderately than attempting to progress previous the place Bael’s shadow tries to spook you, take a look at the ultimate set of stairs resulting in his room. There’s a gap there you’ll be able to fall via.
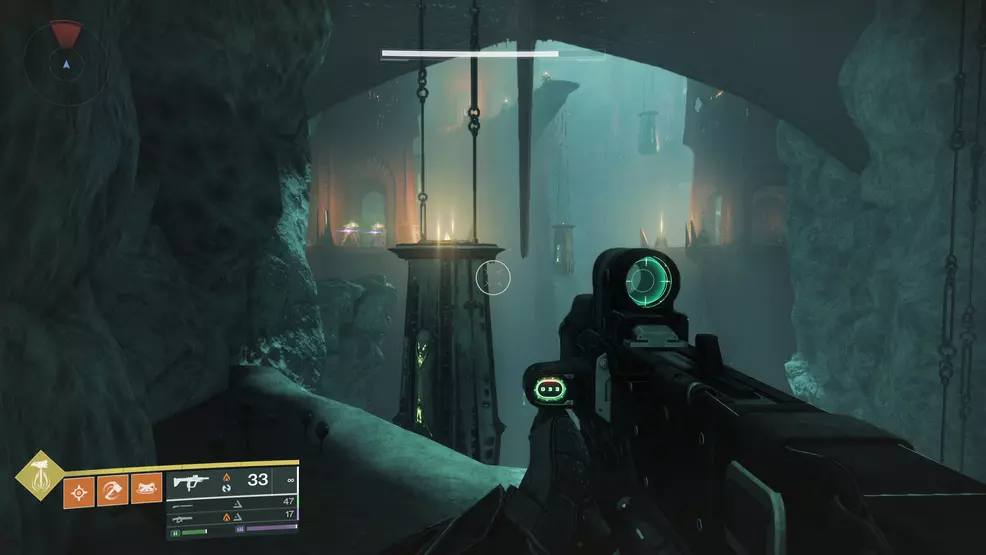
Comply with the caverns till you attain a pit. Drop down and proceed ahead. You’ll end up in one other giant room with scarlet towers.

Use the left-hand platforms to make it as much as the place you’ll discover a pair of Wizards, then proceed utilizing the Acolytes as a waypoint.
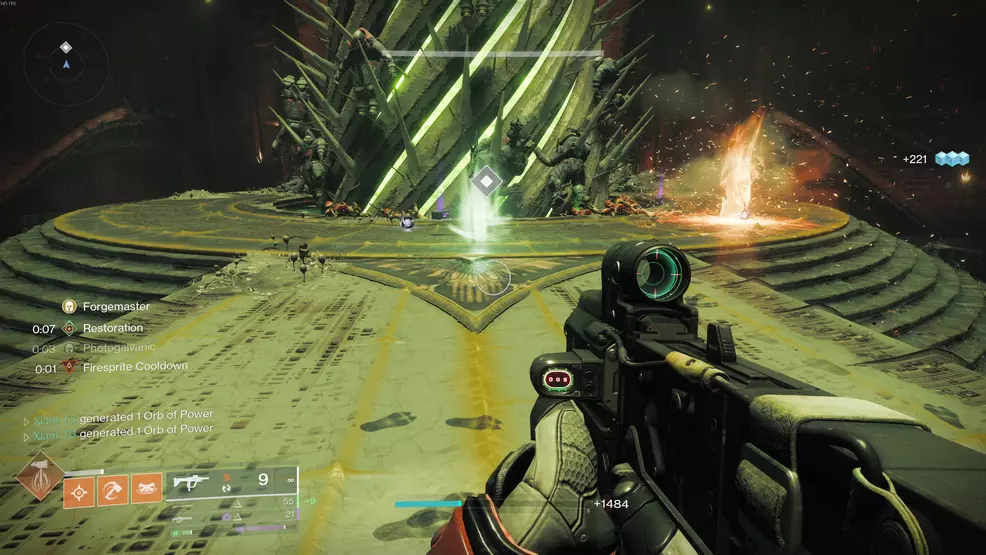
Bounce all the way down to their platform, then flip round and look all the way down to see the primary encounter of the mission.
Methods to extinguish the Soulfire Barrier
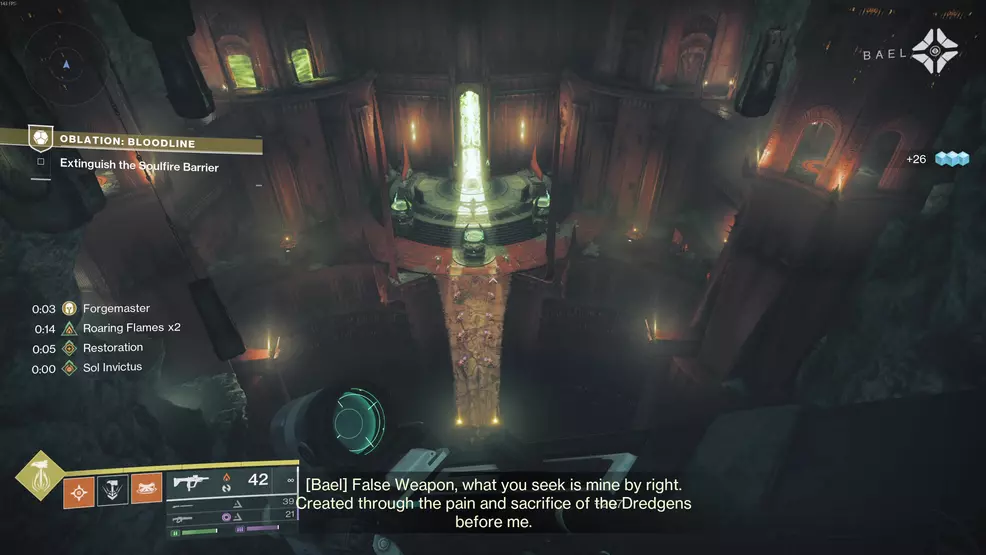
To proceed via the mission, it’s good to clear the huge column of soulfire blocking your approach ahead.
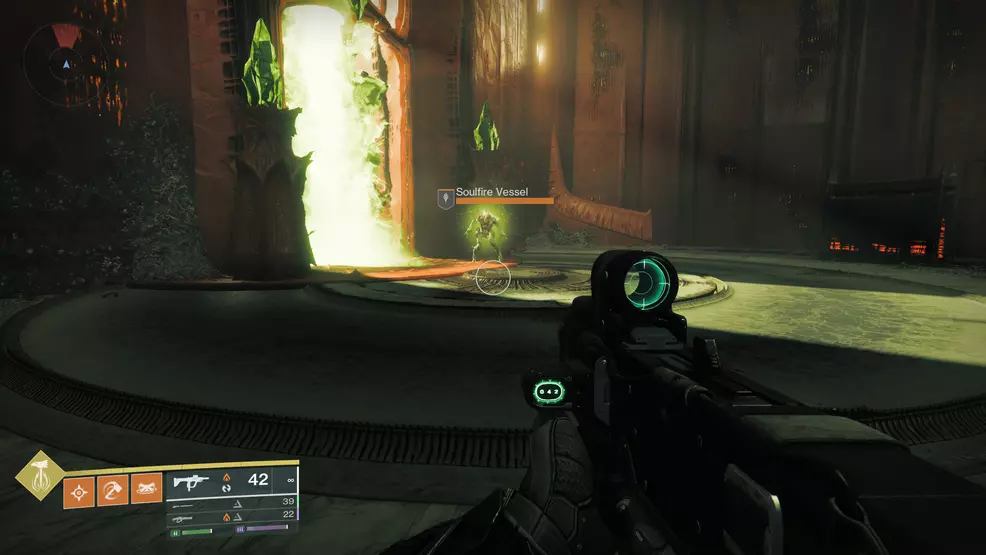
To do this, begin by destroying the Pyre Matron Wizard, then punch the Soulfire Vessel Thrall to achieve the Soulfire Cost buff.
Take the buff to one of many unlit braziers that face the soulfire barrier to dunk it. A gaggle of enemies will spawn within the course you’ll have to go subsequent.
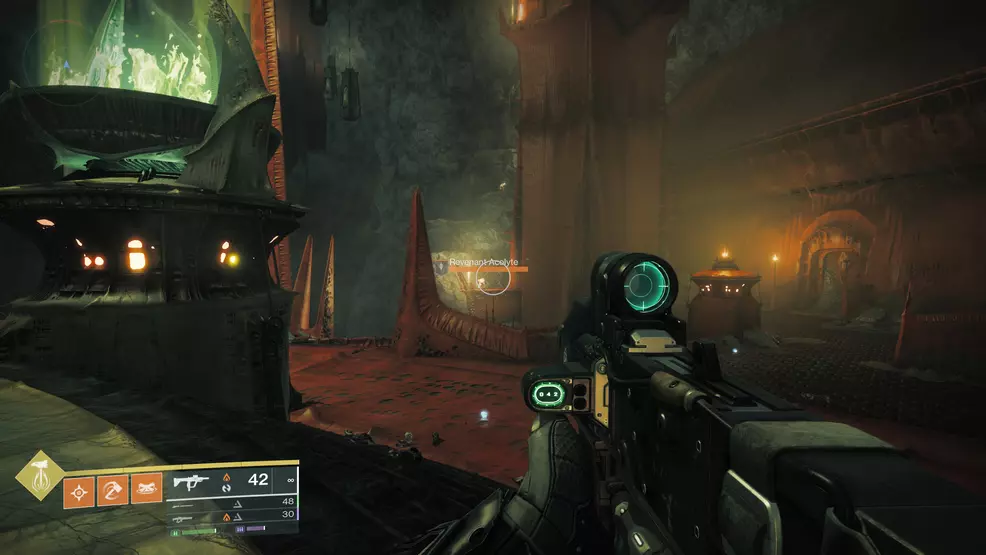
Head via the doorway the enemies had been guarding and clear the whole room of enemies, together with the three Pyre Matrons.
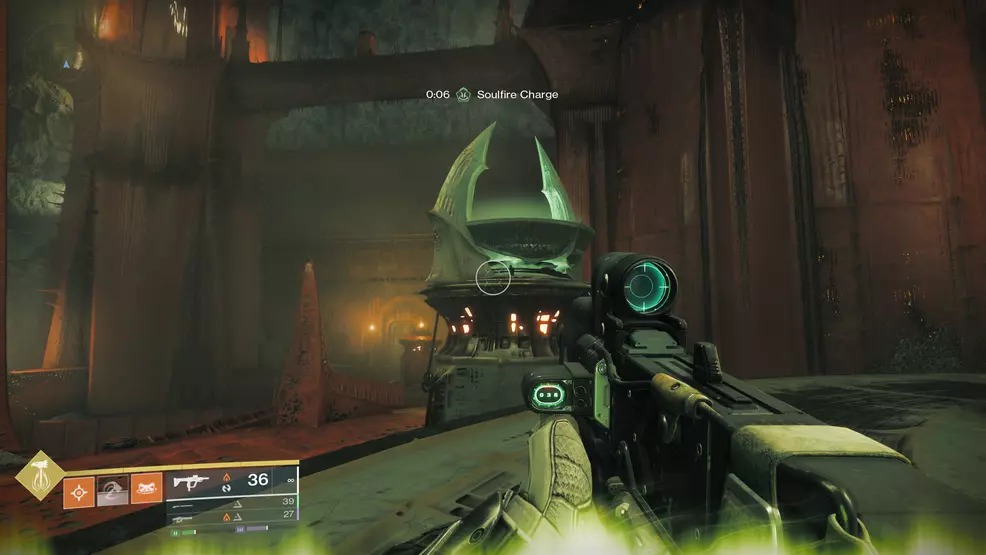
Doing so will drop the central defend across the Soulfire Vessel, which you’ll then punch for the buff. Return to the center and dunk in one other brazier. It doesn’t matter which one.
Acolytes are your information to the ultimate Soulfire Vessel within the again left of the world. Clear them and soar up the rocky ledges till you attain the highest of the purple iron tower.
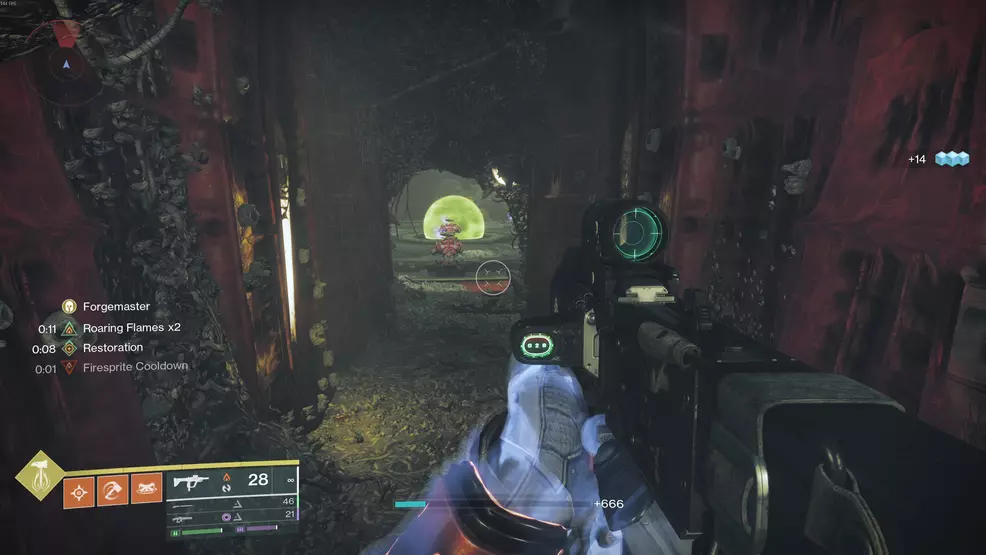
Head previous the Ogre to the room with all of the enemies (Pyre Matrons, Knights, and so on.), clear them, punch the Vessel, then take the ultimate buff to the ultimate brazier.
The ultimate brazier being lit will clear the soulfire barrier and open the best way to the boss struggle of this primary mission.
Methods to beat Valus Tau’Rig, The Insatiable
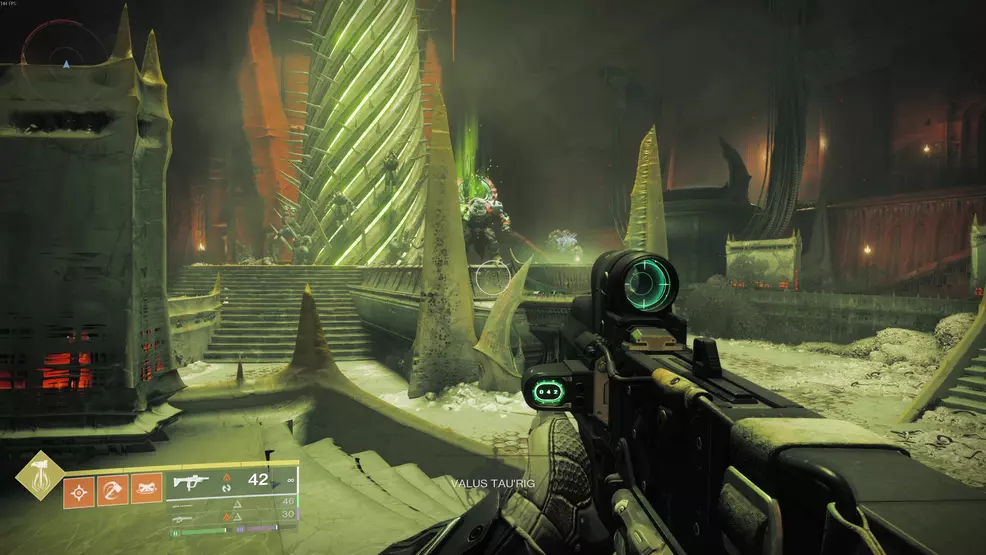
The ultimate encounter of Oblation: Bloodline is a take a look at of all the things you’ve discovered within the mission thus far. The opening act is straightforward: deplete Valus Tau’Rig’s well being bar. It’s measly for a boss of his measurement, and some combos with the Praxic Blade or a number of rockets or different Energy Ammo will do the trick.
The second section is the difficult bit. Tau’Rig will likely be empowered by a trio of extra highly effective Wizards known as Pyre Cantors, who will disappear shortly after the second section begins.

Your first job is to outlive till these Wizards reappear because the Valus begins absorbing soulfire from one of many braziers across the room. You’ll be able to watch them fly to the place they’ll be guarding the Soulfire Vessel, just like the final encounter.
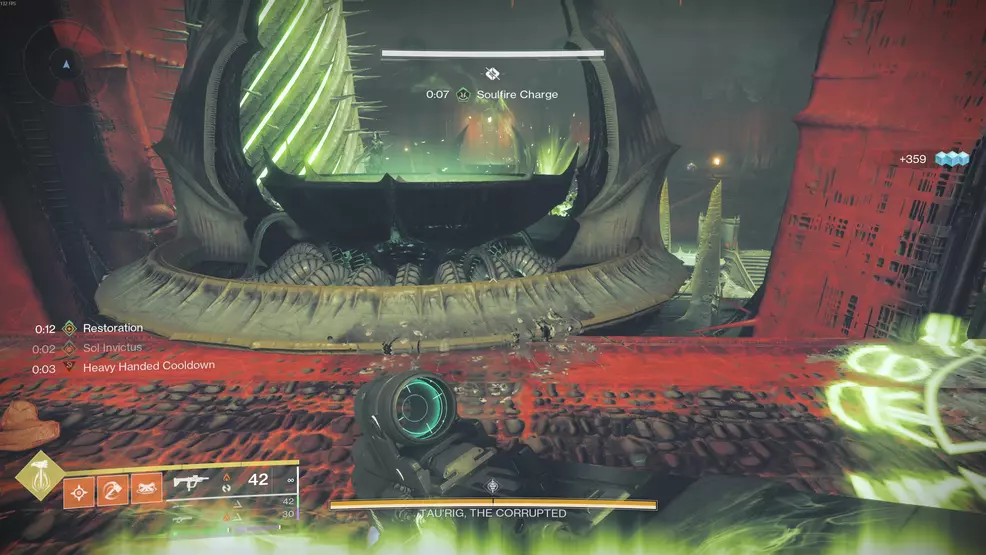
Clear the Cantors and take the Soulfire Cost over to the brazier. Tau’Rig is siphoning power to stun him and take away his immunity defend. Now you can injury him, however he’s a lot, a lot tankier in section two.
A strong Praxic Blade construct will nonetheless do wonders in opposition to him, as will any of the opposite meta DPS strategies (Gjallarhorn and rockets, Linear Fusions, and so on.).
At 50% well being, Tau’Rig will go immune once more, and the second section begins. It’s mainly the primary section with further Ogres. The method is identical. Comply with the witches to wherever they guard the Soulfire Vessel, declare the buff, dunk it within the brazier the boss is at, then DPS him to dying.
You’re free to say the Weapon of Sorrow as soon as the boss is defeated, however don’t exit the exercise simply but. There’s but extra to find.
Methods to unlock Oblation: Soulfed
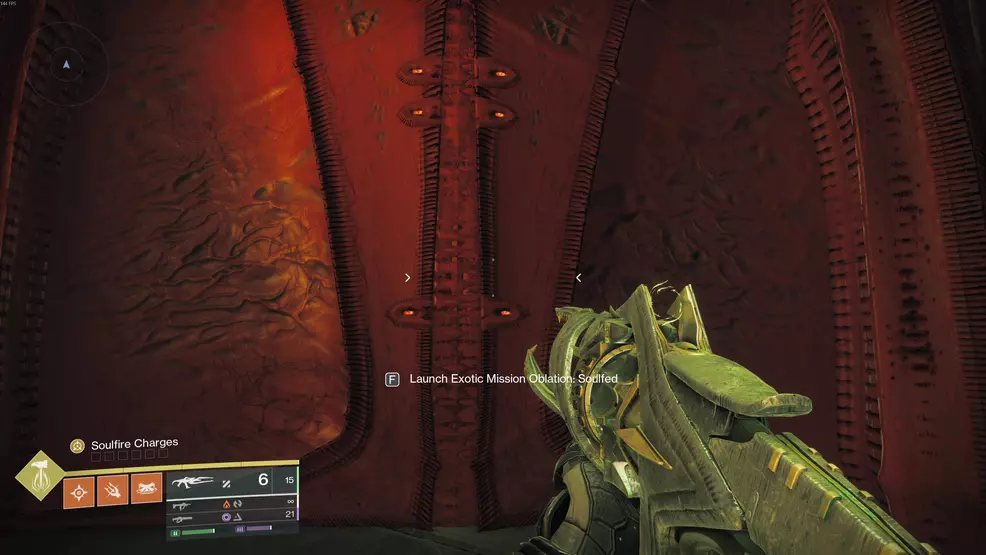
Do you know there are extra Unique Missions tied immediately into Oblation: Bloodline? As a result of there are, and the primary tone known as Oblation: Soulfed. Unlocking it follows the identical sample you used to unlock Bloodline: breaking Hive runes.
Fairly than go away the exercise instantly, equip the Weapon of Sorrow, Cull’s Shadow.
Head again into the primary encounter space and clear all of the enemies, even the massive ones. Then, go as much as the place you discovered the third buff in the course of the first encounter. A message will flash throughout your display: “The Weapon of Sorrow craves profane knowledge…”
Now you’ll want to leap throughout the sarcophagi to the proper of the place the ultimate set of enemies was.
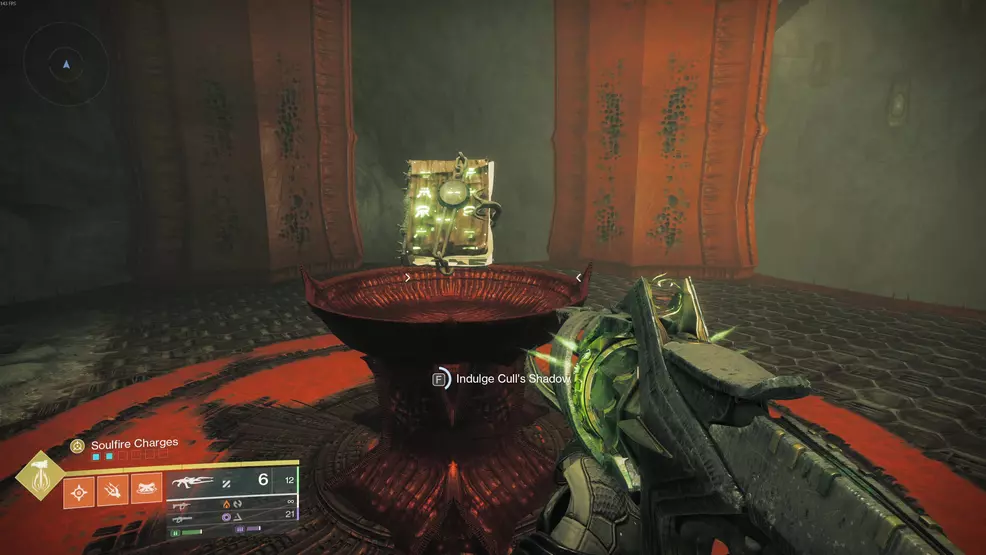
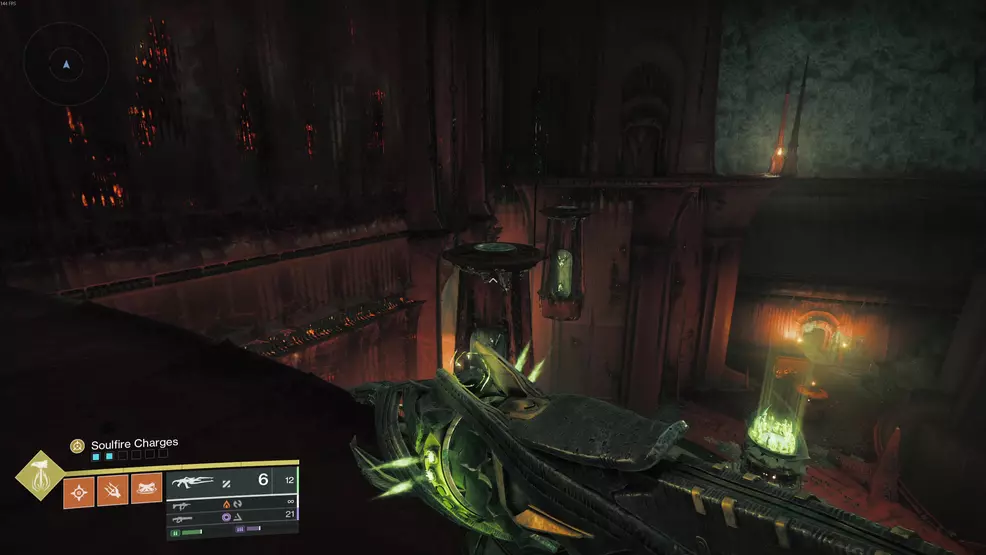
Hold proper till you attain a floating Hive grimoire. Work together with it to Indulge Cull’s Shadow to disclose the Hive runes on the partitions of the boss encounter room.
Comply with the identical technique you’ve used to unlock all of the Hive doorways thus far: shoot them within the order introduced on the door, from high to backside. Doing that can break the seal and, while you strategy the door, will let you begin Oblation: Soulfed immediately from inside the mission.
You’ll additionally unlock the Soulfire Succor catalyst for Cull’s Shadow within the course of. Now you can launch the Oblation: Soulfed mission from the Moon Vacation spot display.
With that, you’ve accomplished Oblation: Bloodline and may proceed to Soulfed for those who so need.
For extra on Future 2 and the Monument of Triumph replace, take a look at our Future 2 web page.
Shacknews employees doesn’t use generative synthetic intelligence (AI) of their content material. Shacknews strictly prohibits the usage of its content material for AI coaching or to generate textual content, together with textual content within the type or format used for this publication. Shacknews reserves all rights to this work.
