
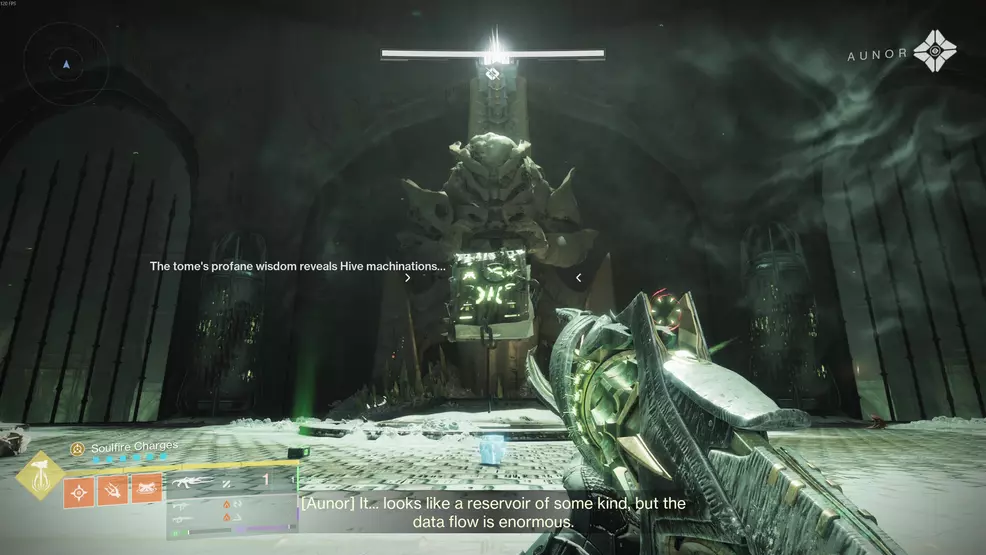
Oblation: Soulfire is the second Unique mission in a collection of them from Future 2’s Monument of Triumph replace. This is how one can full it.
The Oblation: Soulfed Unique mission is the second within the collection of them that got here with the Future 2 Monument of Triumph replace. It’s additionally way more concerned than the mission that precedes it, and we’ve bought all the small print of how one can full it right here.
Easy methods to full Oblation: Soulfed in Future 2
To even begin Oblation: Soulfed, it is advisable have accomplished the primary Cull’s Shadow Unique Catalyst step throughout Oblation: Bloodline. Solely then are you able to unlock passage to Soulfed.
When you’re in Soulfed, change into very accustomed to taking place, particularly falling previous spiked hazards and different traps. You’ll additionally must change into comfy with throwing glowing worms at inexperienced crystals and clearing gouts of soulfire to progress.
Easy methods to attain the boss area in Oblation: Soulfed
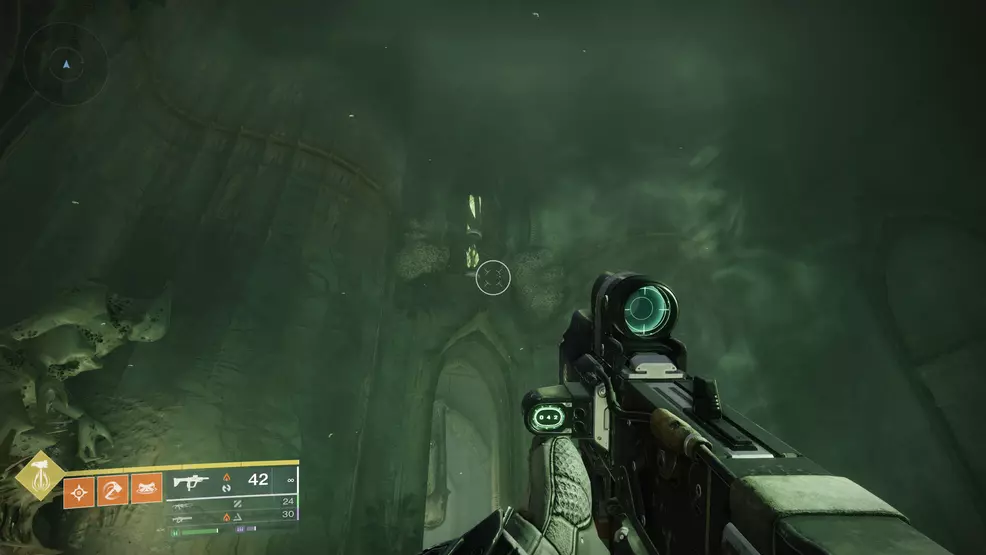
Your first job while you enter Oblation: Soulfed is to drop by means of a gap in the course of the ground.

From there, you’ll must fall previous the identical rotating spiked cylinders from the Pit of Heresy Dungeon, although oddly, these don’t immediately kill you on contact. The opening on the backside main deeper into the advanced is blocked by a raging plume of soulfire, and also you’ll must clear it to progress.
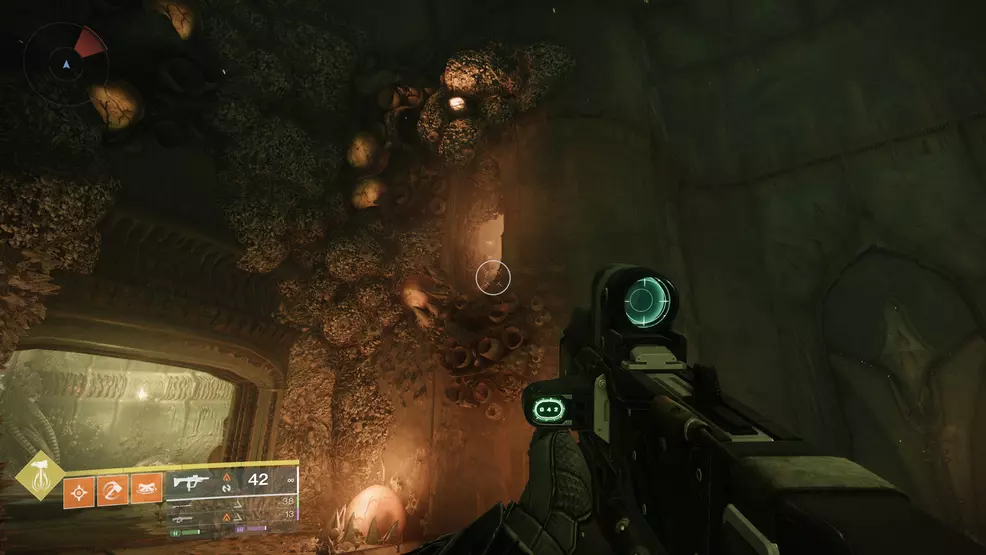
Head into the one hallway main away from the soulfire and look to your left for a small gap within the wall that results in a collection of Hive caves. Preserve proper till you attain a barred doorway, then flip round and head by means of the passage to your proper.
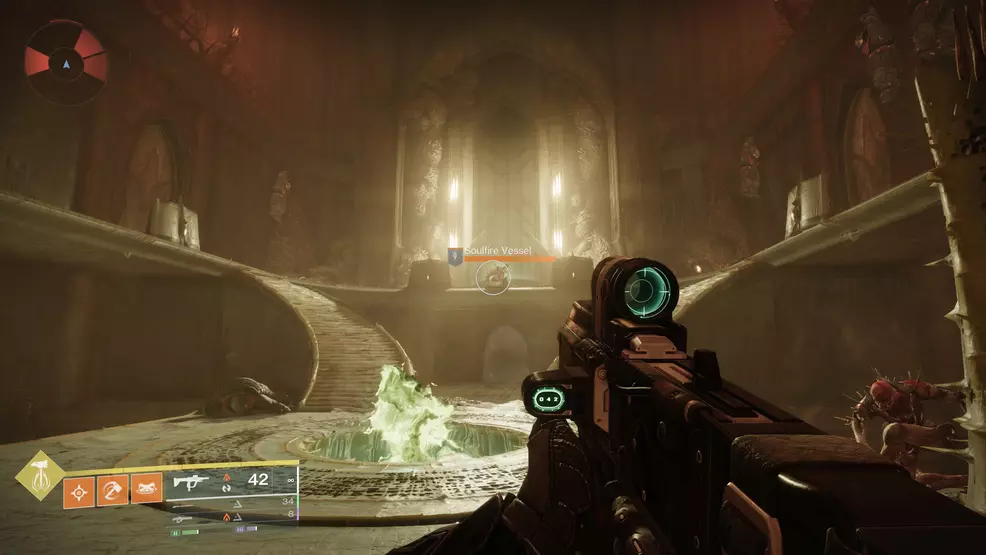
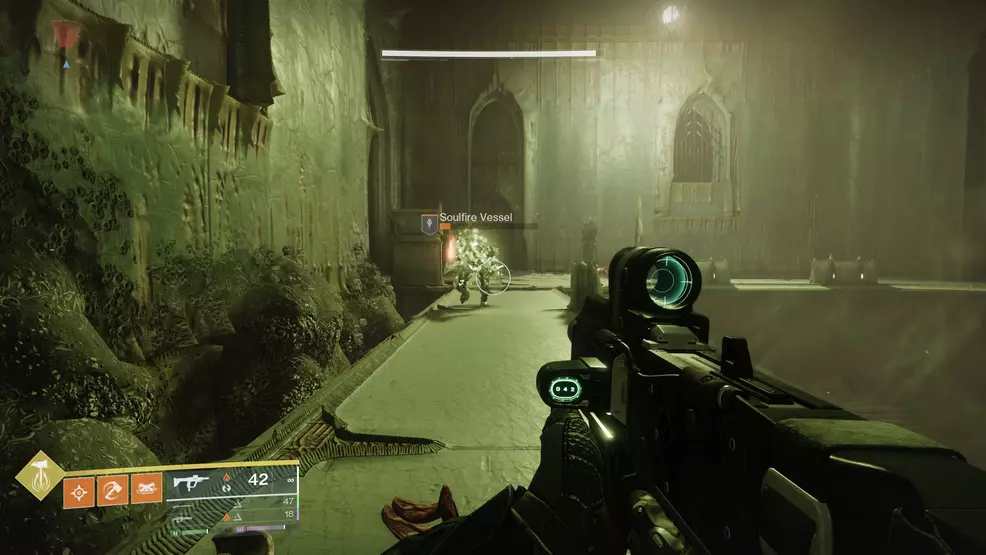
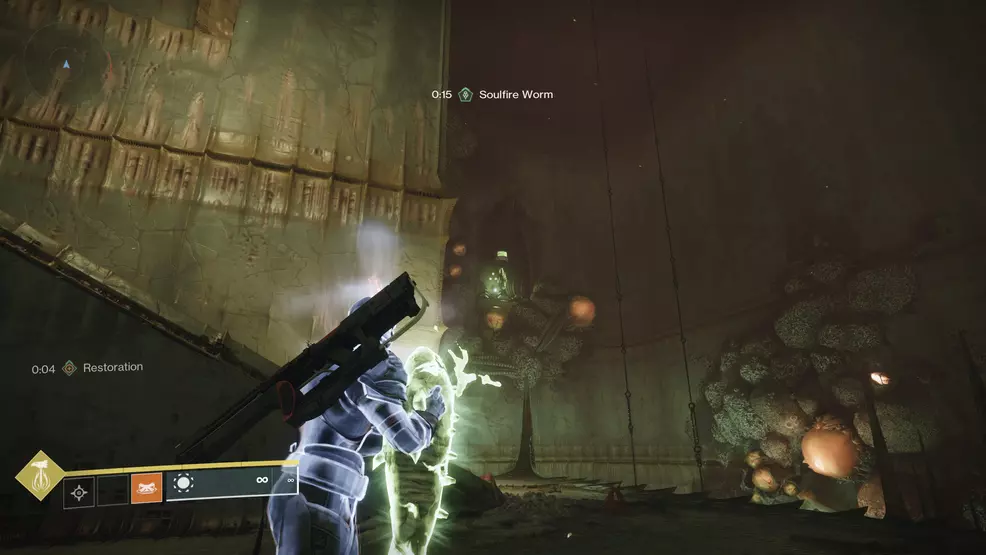
You’ll finish in one other room with a Soulfire Vessel, although this time it’s a Knight fairly than a Thrall. Kill it to seize the Soulfire Cost buff after which dunk the cost within the brazier as you’ve been doing.
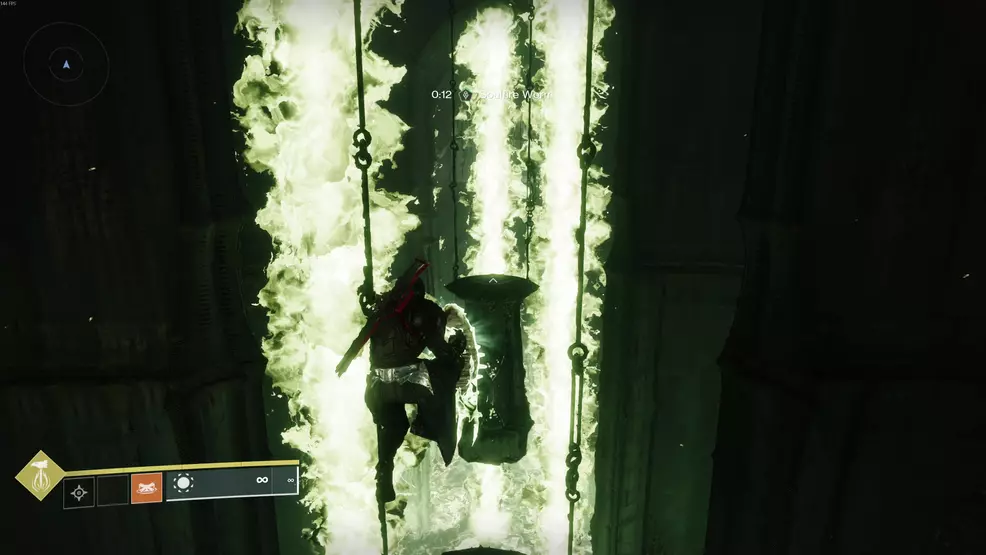
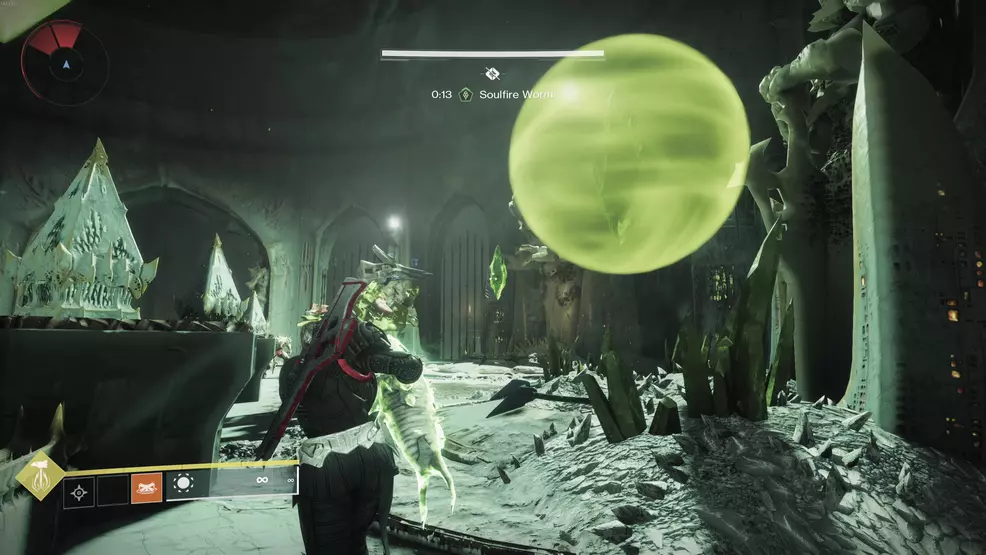
The kicker this time is the brazier will now generate soulfire-infused Hive worms which you can decide up and throw. These worms are the primary mechanic of the Soulfed part of the Oblation Unique mission collection.
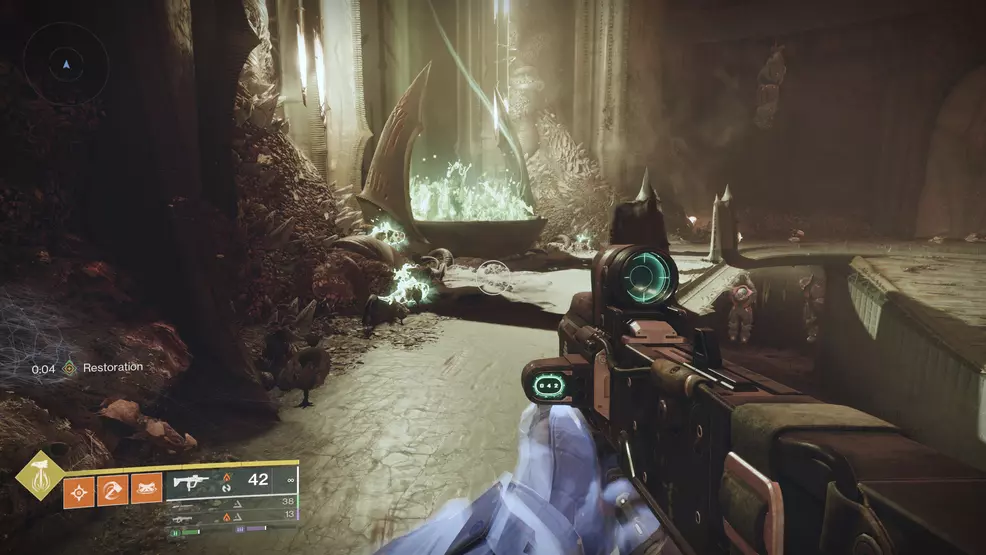
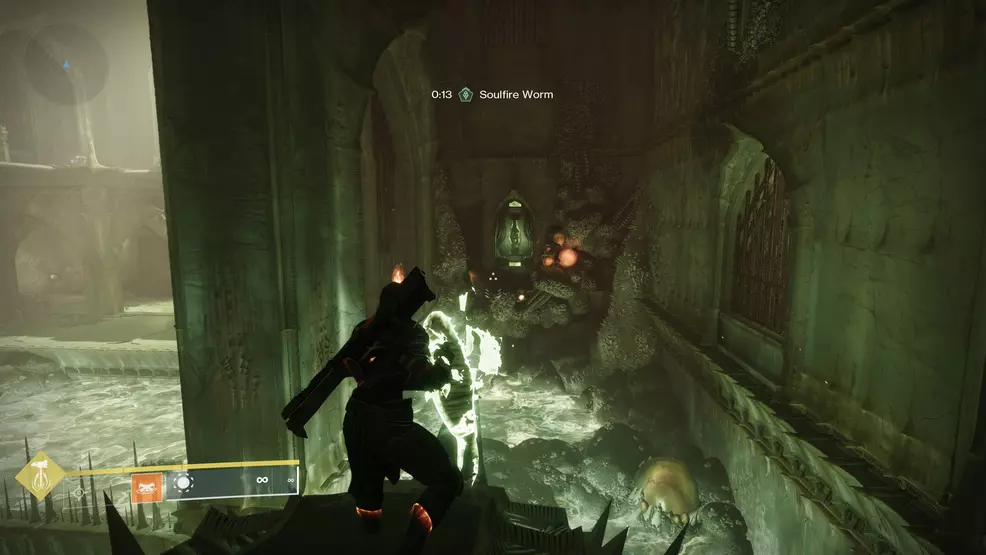
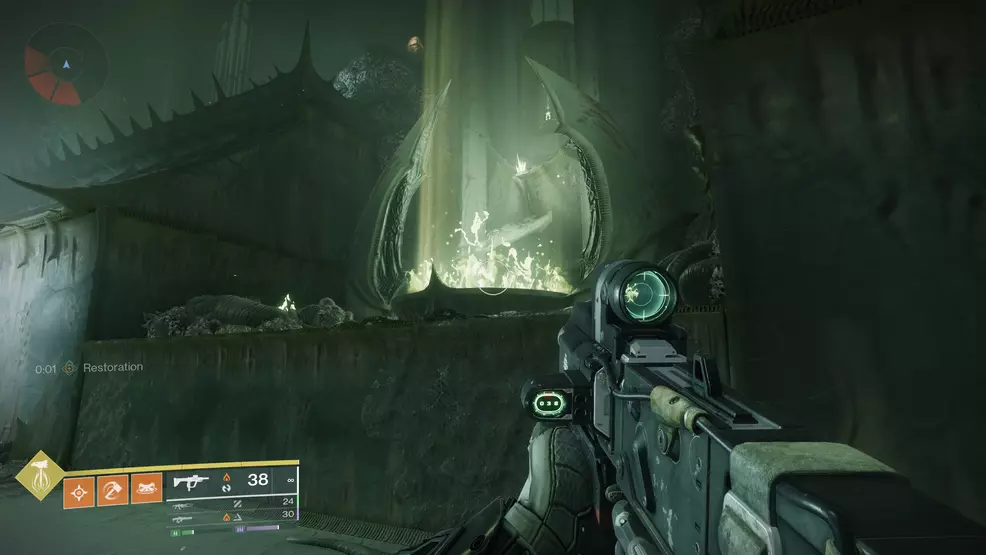
Decide up the worm and look to the opposite facet of the room. You’ll see a inexperienced crystal above the doorway. Throw the worm at it to activate it, then seize one other one and return to the primary space.
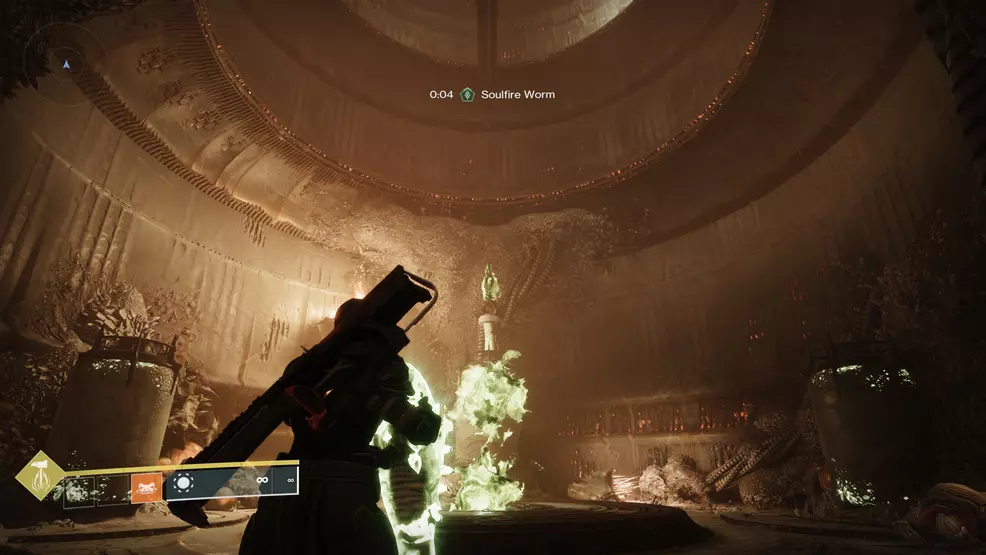
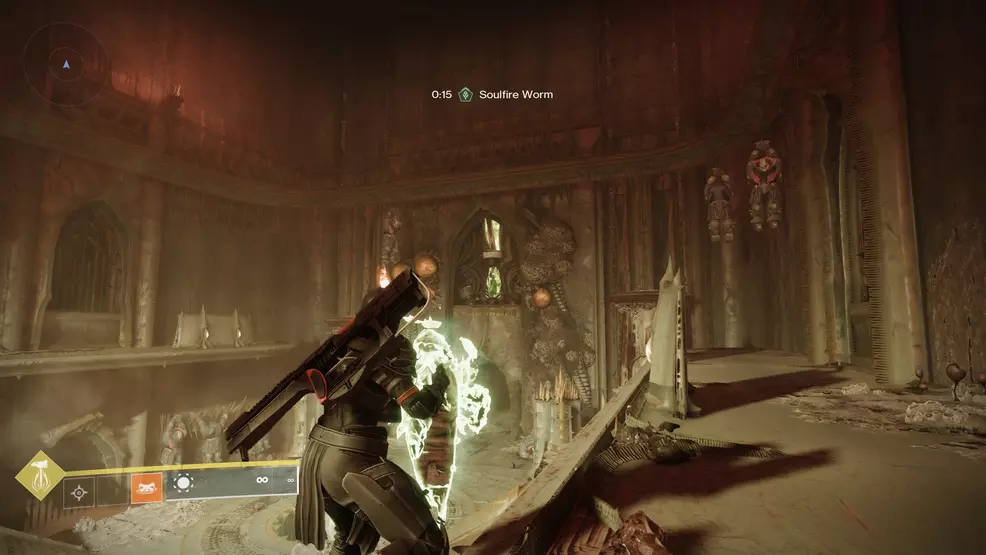
Throw the worm on the crystal there as properly, however beware the timer. The worm will explode in your fingers in case you let its timer expire fully.
The soulfire will dissipate while you activate the second crystal, and you may undergo the opening. You’ll must dodge extra rotating cylinders and a big jet of soulfire in your means down.
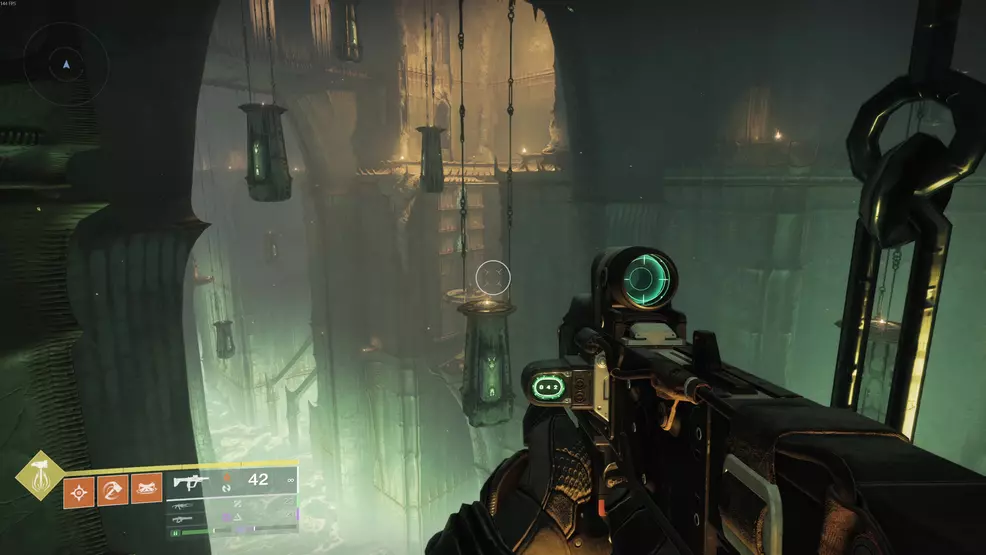
Whenever you attain the underside, head out the one door, then flip round and look to the suitable of the doorway to see a small passage increased up within the wall.
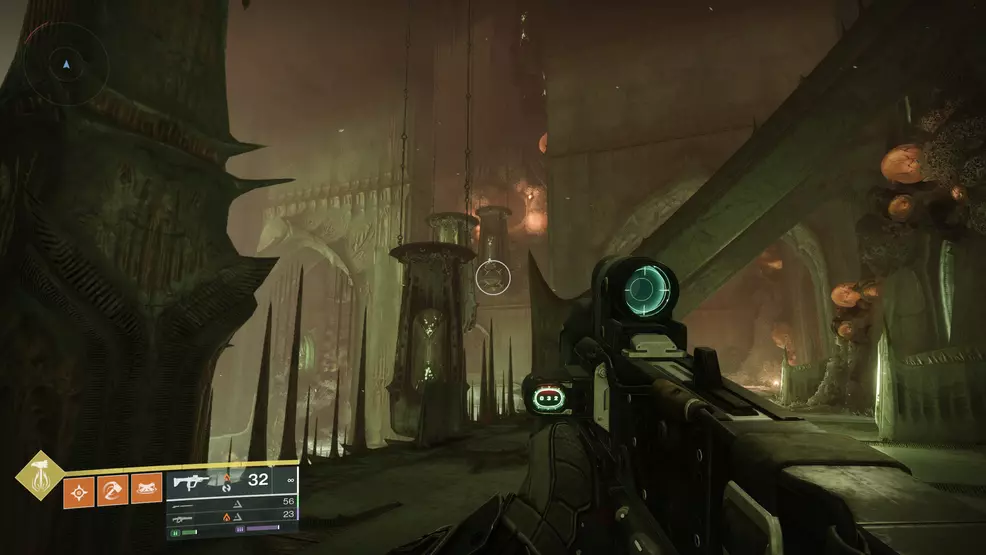
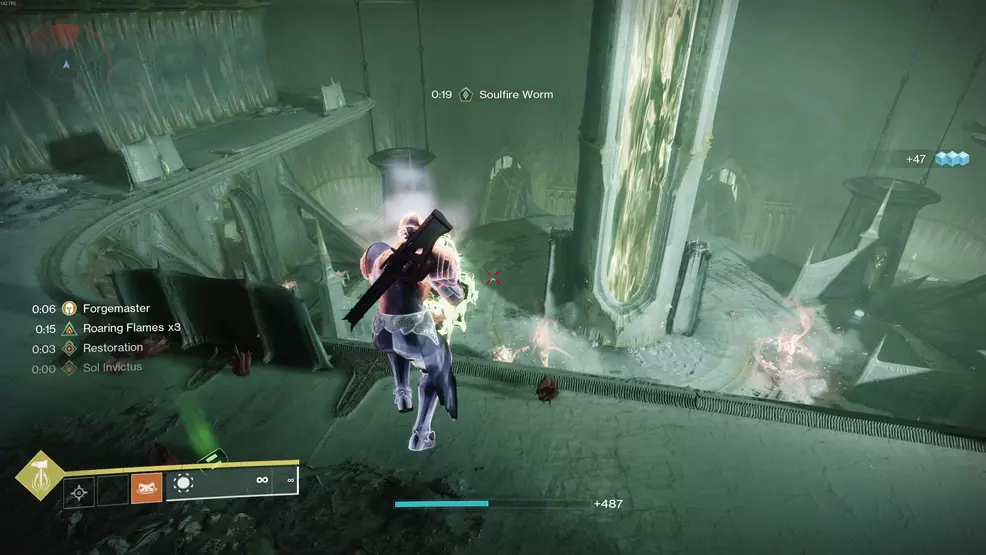
Observe the cave round till you drop down into the primary main puzzle area. Filter out all of the enemies on the primary ground, then take the steps as much as the upper platform. Throughout the hole within the bridge is a swarm of Acolytes and a Soulfire Vessel Knight.
Take out the Knight, seize the buff, then flip round and drop down onto the primary ground. To the left of the bridge is a room with a worm-generating brazier. Dunk the buff to spawn some worms.
You now must throw worms at 4 crystals scattered round this room. Yow will discover them:
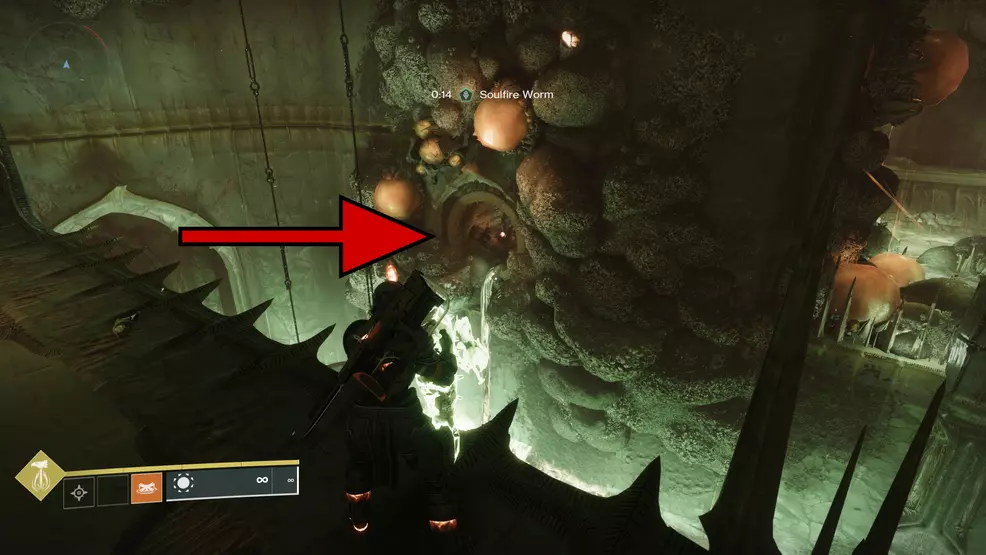
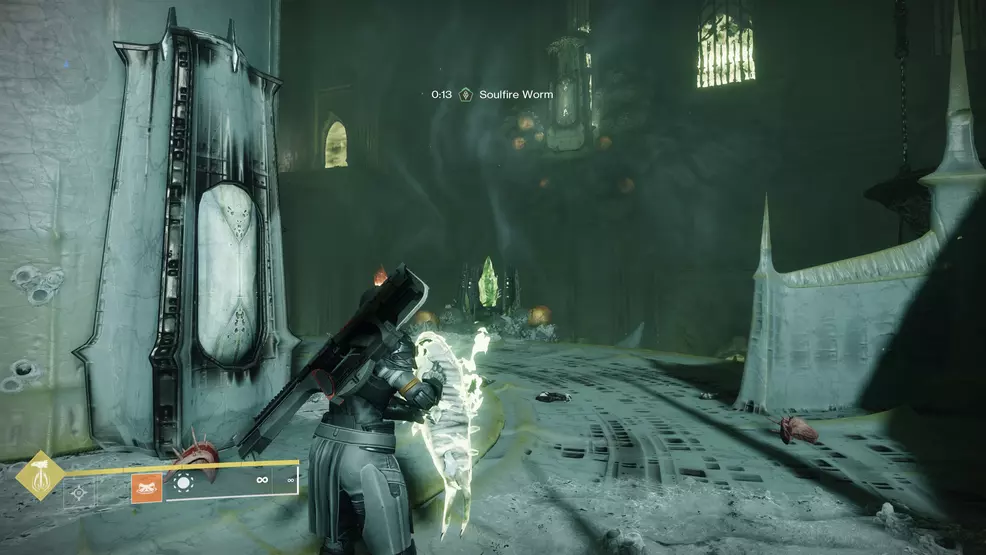
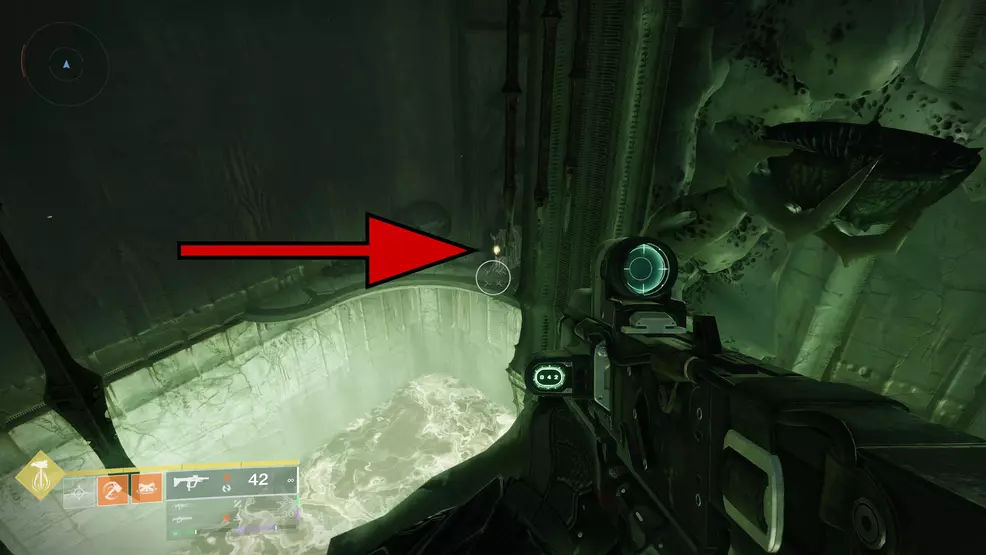
- To the left of the brazier and throughout the soulfire moat. Search for a small gap within the wall overlooking the moat. Contained in the small cave is likely one of the crystals.
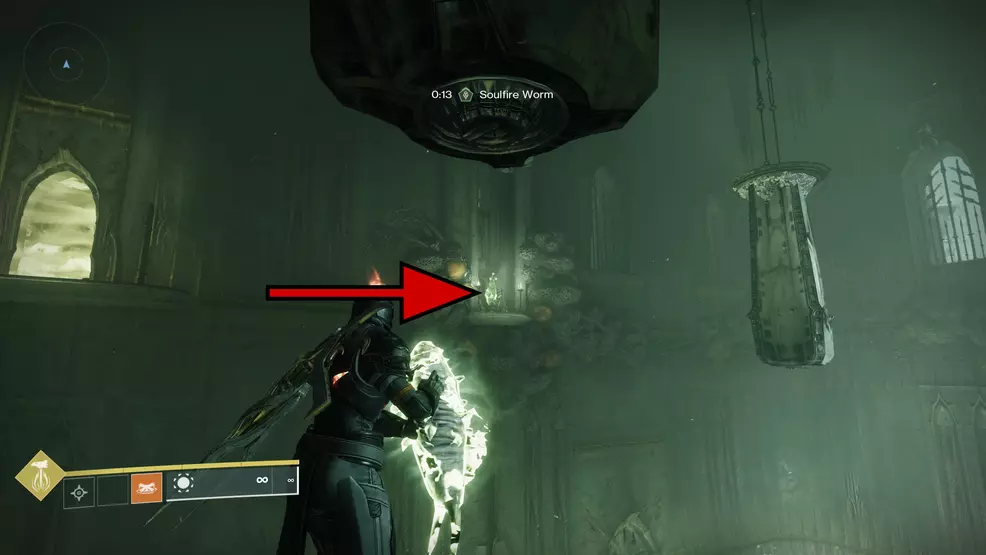
To the left above the soulfire moat, set into the wall. Lookup towards the far wall, left of the small cavern you simply visited.
To the suitable from the brazier, throughout from the spiked, rotating wheel. You’ll want to leap onto the wheel to get an excellent angle, then rigorously leap off so that you don’t find yourself within the inexperienced, glowing goo.
Close to the highest of a collection of sarcophagi that result in a pipe spewing soulfire. Lookup and to the suitable as you exit the brazier room, and leap to the very best sarcophagus, then look proper for the crystal.
As quickly because the final crystal prompts, the close by jet of soulfire will subside, and you may proceed by means of the pipe again to the primary space, the place the plume of soulfire there will probably be gone. Bounce down by means of the opening.
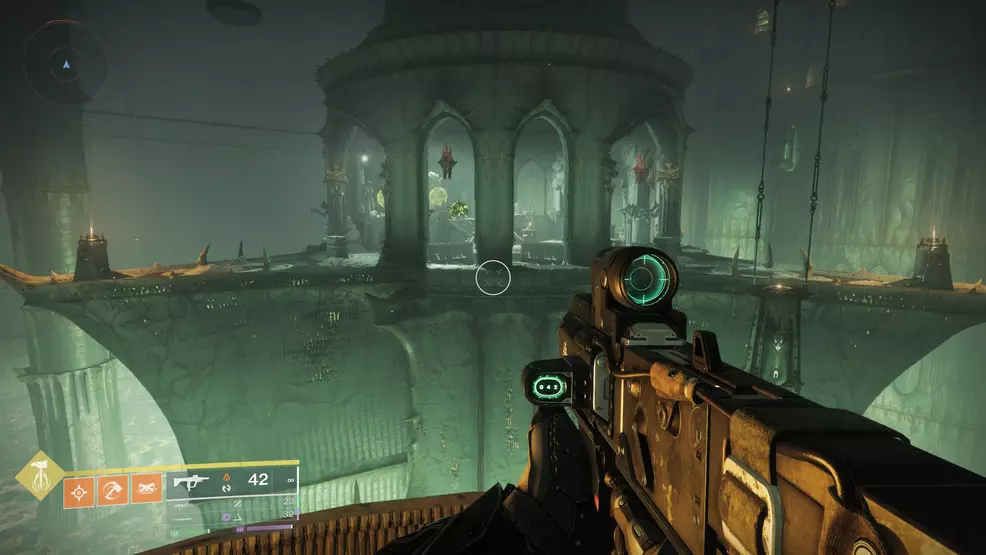
On the backside is yet one more massive puzzle area, however the course of is way the identical.
Head onto the primary platform to defeat the Soulfire Vessel Knight, then proceed as much as the very best level to dunk the buff. Now, worm time.
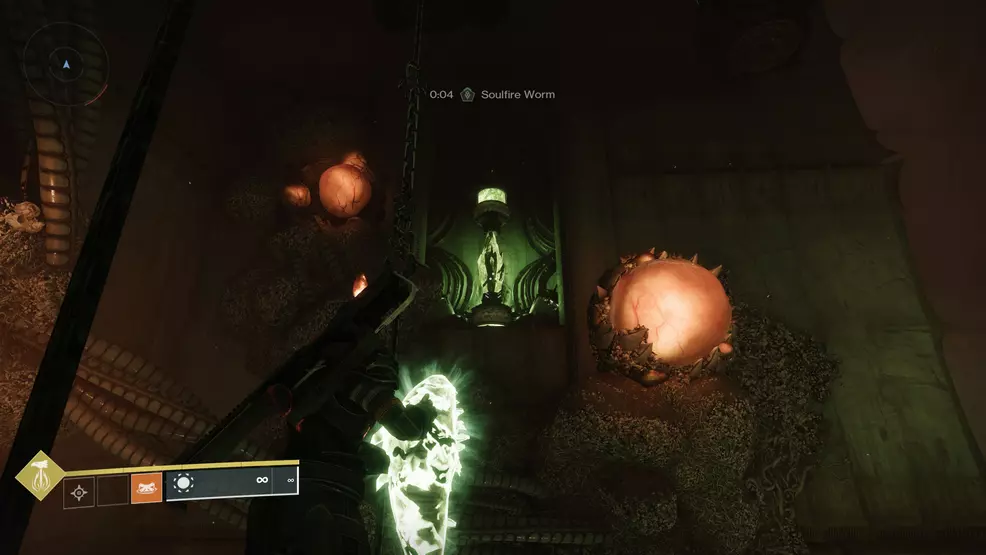
Seize a worm and throw it on the inexperienced crystal on the primary platform that overlooks one other moat of soulfire.
Activating that crystal will elevate the sarcophagus throughout the moat, and you may throw a worm that path too. Doing so douses the soulfire jets, and you may head by means of the now open passage on the very best platform behind the room, left of the second crystal.
Seize a worm from the already lively brazier within the subsequent room, then throw it on the crystal above the doorway to the brazier’s left. That will get the sarcophagi shifting within the subsequent chamber, but additionally begins up big jets of soulfire to attempt to block your path.
You’ll now must cross that chasm with a worm in your fingers, go round and thru the jets, then throw mentioned worm at a crystal on the opposite facet of the chamber.
Earlier than you proceed ahead, backtrack to the start of the soulfire jet passage, and earlier than you attain the preliminary platform, look down at a set of statues holding small basins.
Drop down onto them and look to your proper for a shiny yellow power button held in a crystal claw. Activate it. You’ll want entry to the door it unlocks later.
Flip proper on the crystal and clear the enemies within the massive room. You don’t must do anything now, save for crossing to the opposite facet, then take a proper and head down the shaft main deeper into the power.
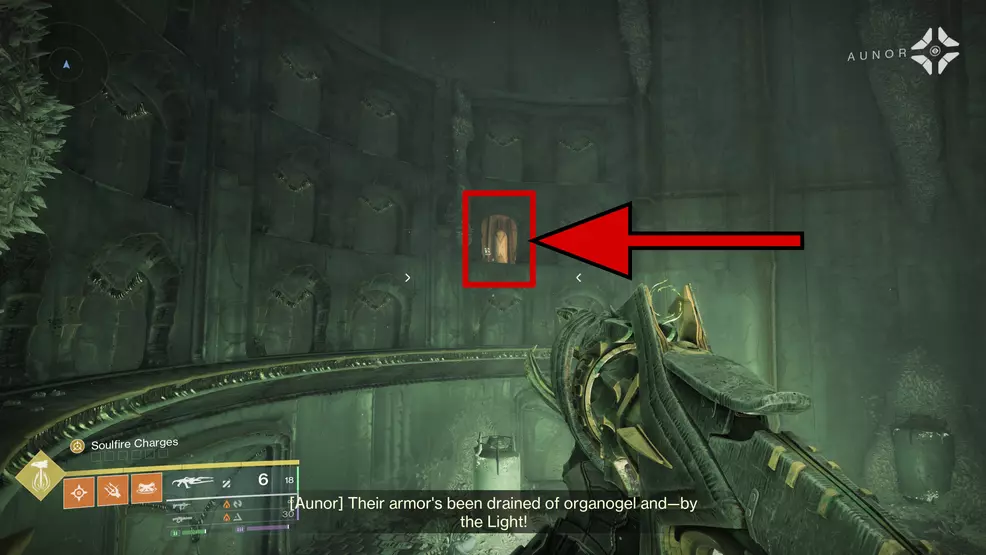
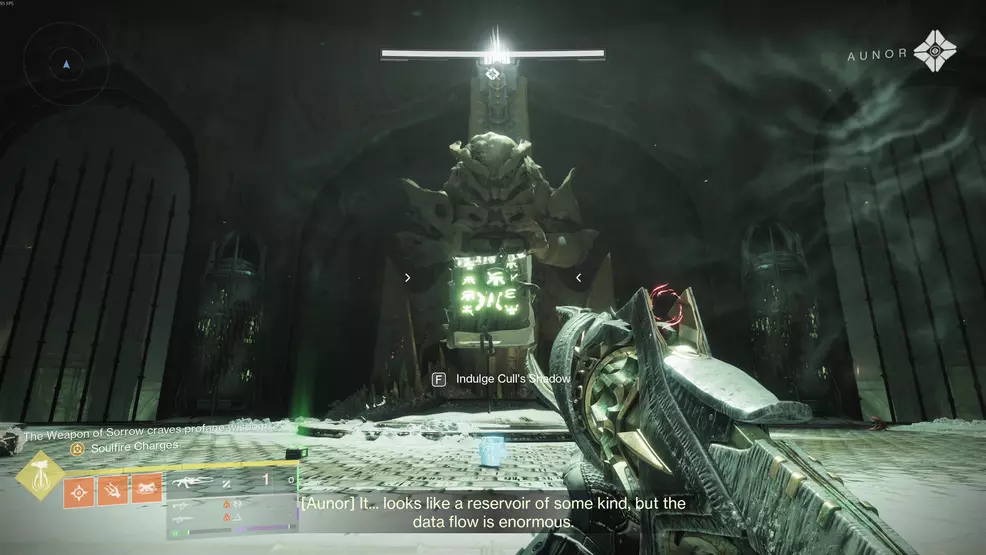
Now you’ll be glad you pressed that button, as a result of one of many doorways to the cells on the backside of the shaft will probably be open. Head inside and work together with it to Indulge Cull’s Shadow with the Hive tome contained in the cell. When you’ve collected it, proceed previous the spiked wheel and into an enormous platforming part.
An Keen Edge Sword will do wonders right here, as will the Lion Rampant Titan boots you probably have them. One of the best recommendation I can provide for this part is to hug the left wall.
Whenever you see a daily Knight within the distance, leap over to him and take the steps to his left up and round to the following stage of sarcophagi. Bounce up into the sector of sarcophagi, then down towards the yellow-lit areas. Watch out along with your jumps, because it’s simple to finish up within the goop beneath.
Proceed till you see what’s clearly an encounter area within the distance. That is the ultimate encounter of Oblation: Soulfed, and like the ultimate boss of Bloodlines, it’s a take a look at of all the things you’ve realized so far.
Easy methods to beat the ultimate encounter in Oblation: Soulfed
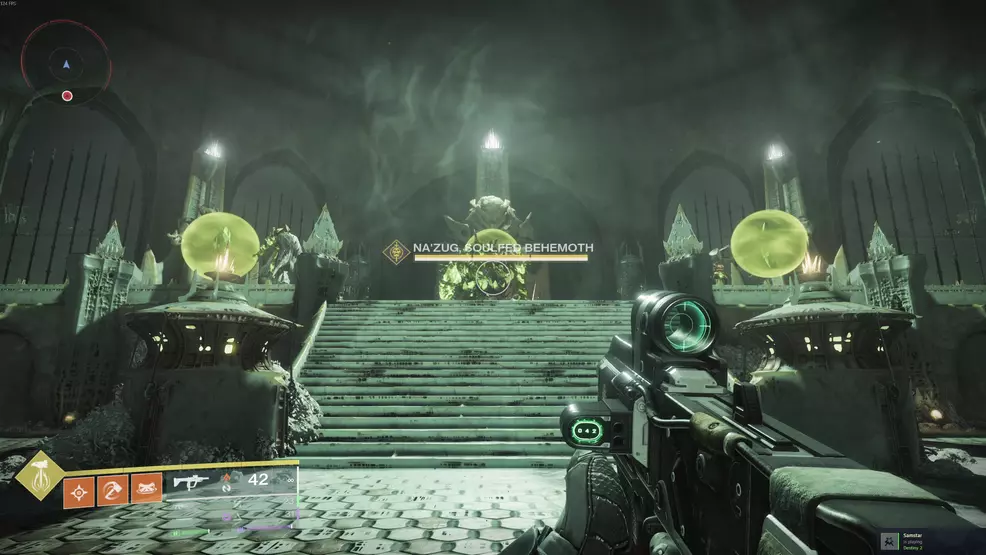
That you must defeat three big Hive bosses, however they’re immune to wreck by default. To interrupt their immunity, it is advisable, you guessed it, throw a worm at crystals.
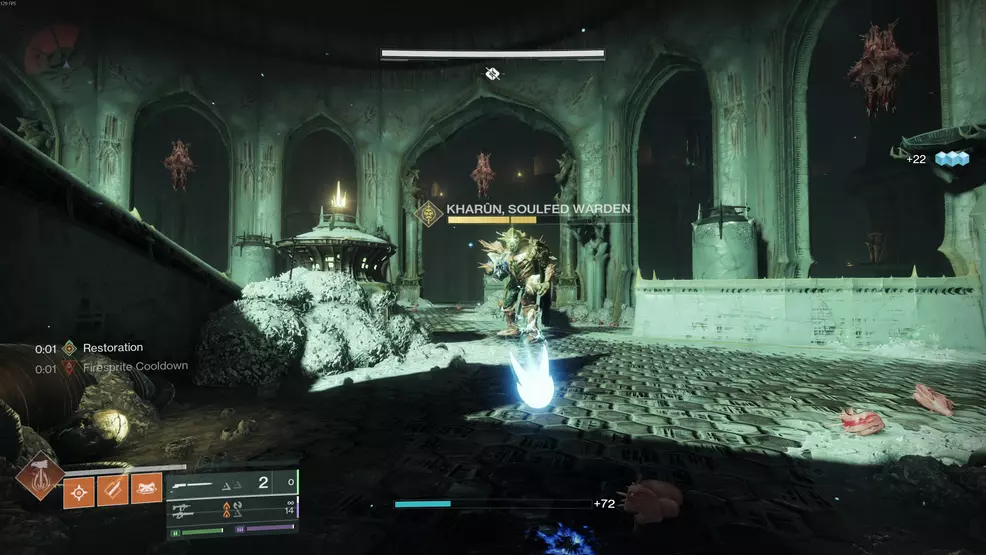
The crystals in query are on the higher stage of the world, and their location corresponds to the boss whose protect it is advisable break. The Soulfire Vessel, as soon as once more a Thrall, hangs out within the rooms beneath the boss crystal platform. Defeat it, declare and dunk the buff within the brazier in those self same decrease rooms, and throw a worm on the central crystal to drop the Ogre boss’s protect.
This Ogre boss virtually capabilities the identical as every other, save for one trick up its sleeve: a purple power sphere that pulls you towards its middle and, hopefully for the Ogre, into its eye beams.
You’ll be able to struggle the Ogre boss as you’ll every other, ducking behind corners to keep away from the attention beams and utilizing cowl to your benefit. You’ll in all probability have to interrupt its protect at the least twice, because it’s a tanky sucker.
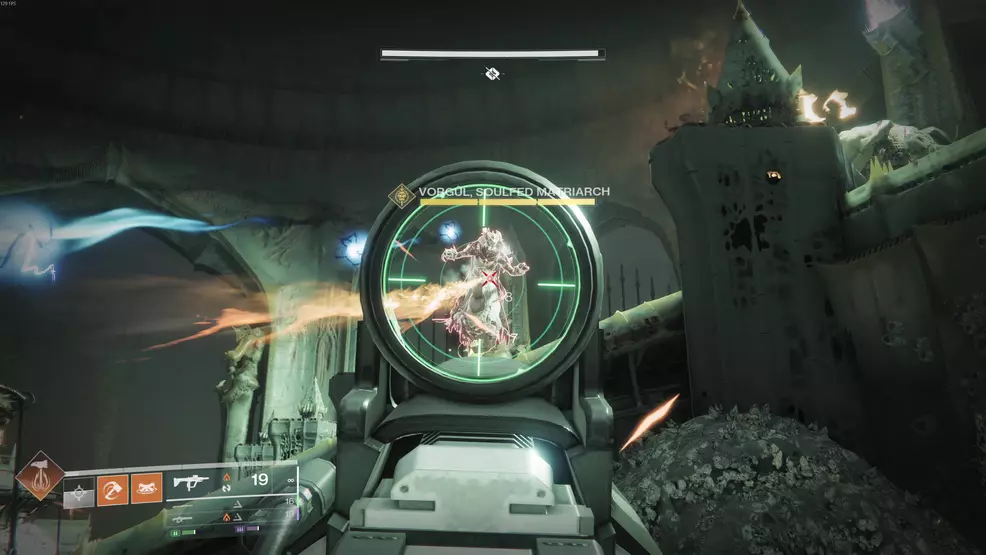
Defeating the Ogre snuffs the soulfire brazier, and relighting it awakens the Knight and Wizard bosses. You’ll want to search out them concurrently, and also you’ll hit totally different crystals to drop their shields. Proper facet is the Knight, left facet the Wizard.
Preserve to the decrease rooms for canopy as a lot as attainable, as issues can get chaotic means too quick out within the area.
Whenever you drop one of many bosses, Hive jail traps will seem on the world ground, and the Wizard has an excellent probability of hanging out on the higher stage. If she does, you’ll want to return out and probably courageous the traps.
Preserve plinking away on the bosses, they usually’ll fall quickly sufficient. Work together with the Hive tome that seems to Indulge Cull’s Shadow, then, when the reward chest seems, you’ll get each the Sorrow’s Coronet Ghost Shell and the Soulfire Rancor Catalyst.
Easy methods to unlock Oblation: Immolation
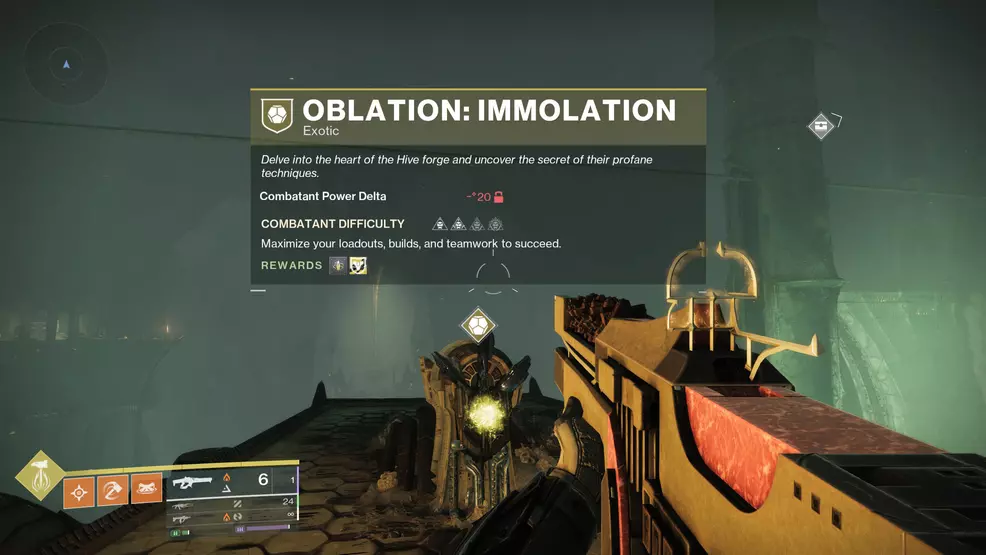
Don’t go away the mission but, as now you can earn entry to the third and closing Unique mission: Immolation. However there’s extra puzzle-solving to do.
Head behind the encounter area to find one other golden power swap in a closed claw. You’ll be able to’t initially work together with it, however you probably have Cull’s Shadow geared up, you’ll be able to flip round and see a collection of Hive rune discs held by the statues.

The order it is advisable shoot them is definitely proven on the surface fringe of Cull’s Shadow itself.
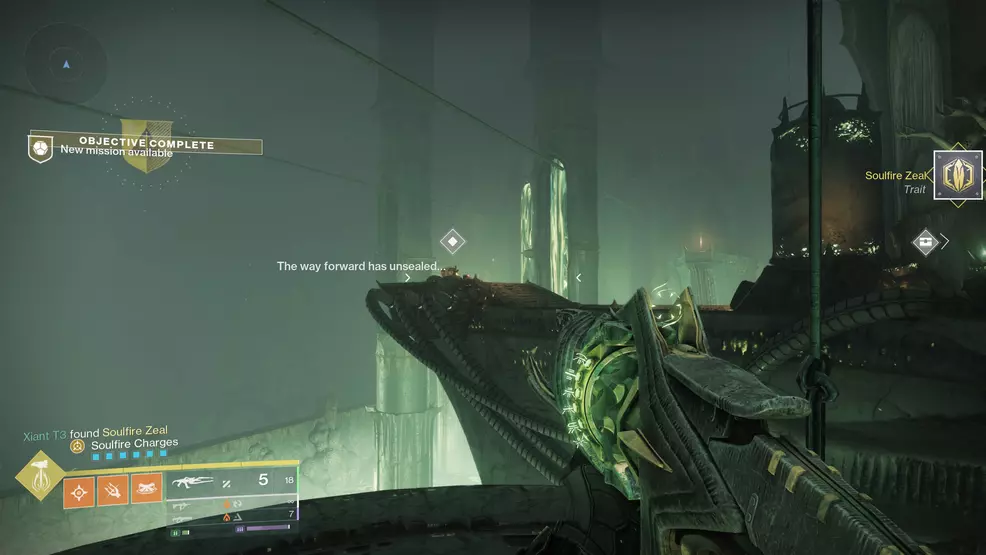
Shoot the six rune discs within the order on the weapon from the highest all the way down to not solely unlock the button to the ultimate mission but additionally the Soulfire Zeal Unique Catalyst for Cull’s Shadow.
Oblation: Immolation is the ultimate mission within the collection and hides one other main boss struggle, loads of huge lore drops, and the ultimate Catalyst.
For way more on Future 2, take a look at our devoted sport web page.
Shacknews employees doesn’t use generative synthetic intelligence (AI) of their content material. Shacknews strictly prohibits using its content material for AI coaching or to generate textual content, together with textual content within the fashion or format used for this publication. Shacknews reserves all rights to this work.
